


Textbook App
Textbook is a webapp for making children's books on the fly. Focus on the content and dont worry about centering images, text and the like. Try it out.
- Features
- Why
- What type of books does this make?
- What do we need?
- How to use the app
- How to print and bind the book
Features
- Build childrens books fast ⚡️
- opinionated design 🧐
- Type
//to quickly add pagebreaks 🛠️ - images auto centered (with a nice slight rounding) 🥳
- Images are automatically optimized for small file sizes 🐀
- Instantly add pagebreaks on sentence ends with a single tap 😱
- dynamic book preview 🩻
- Extra whitespace automatically cleaned up 🏳️
- Page count, word count, and character count (can be added to the cover) 🔢
- 2 print styles 🖨️
- A clean User Interface 🌄
- Mobile first design 📱
Why
I have young children who are learning how to read and I love making books for them out of meaningful content. I tried a few different ways to make homemade books, and found I liked this method my mom showed me for its balance of sturdiness, smooth feel, and time to build.
I built Textbook because I wanted to bypass the time spent on centering images, getting the text on the right page (handling text boxes and pagebreaks), and focus on the content. I wanted to be able to take a great story or a few paragraphs of text, copy and paste, drop in page breaks and pictures and print. It has been a huge help to generate books on the fly and I love using it! I hope you will too.
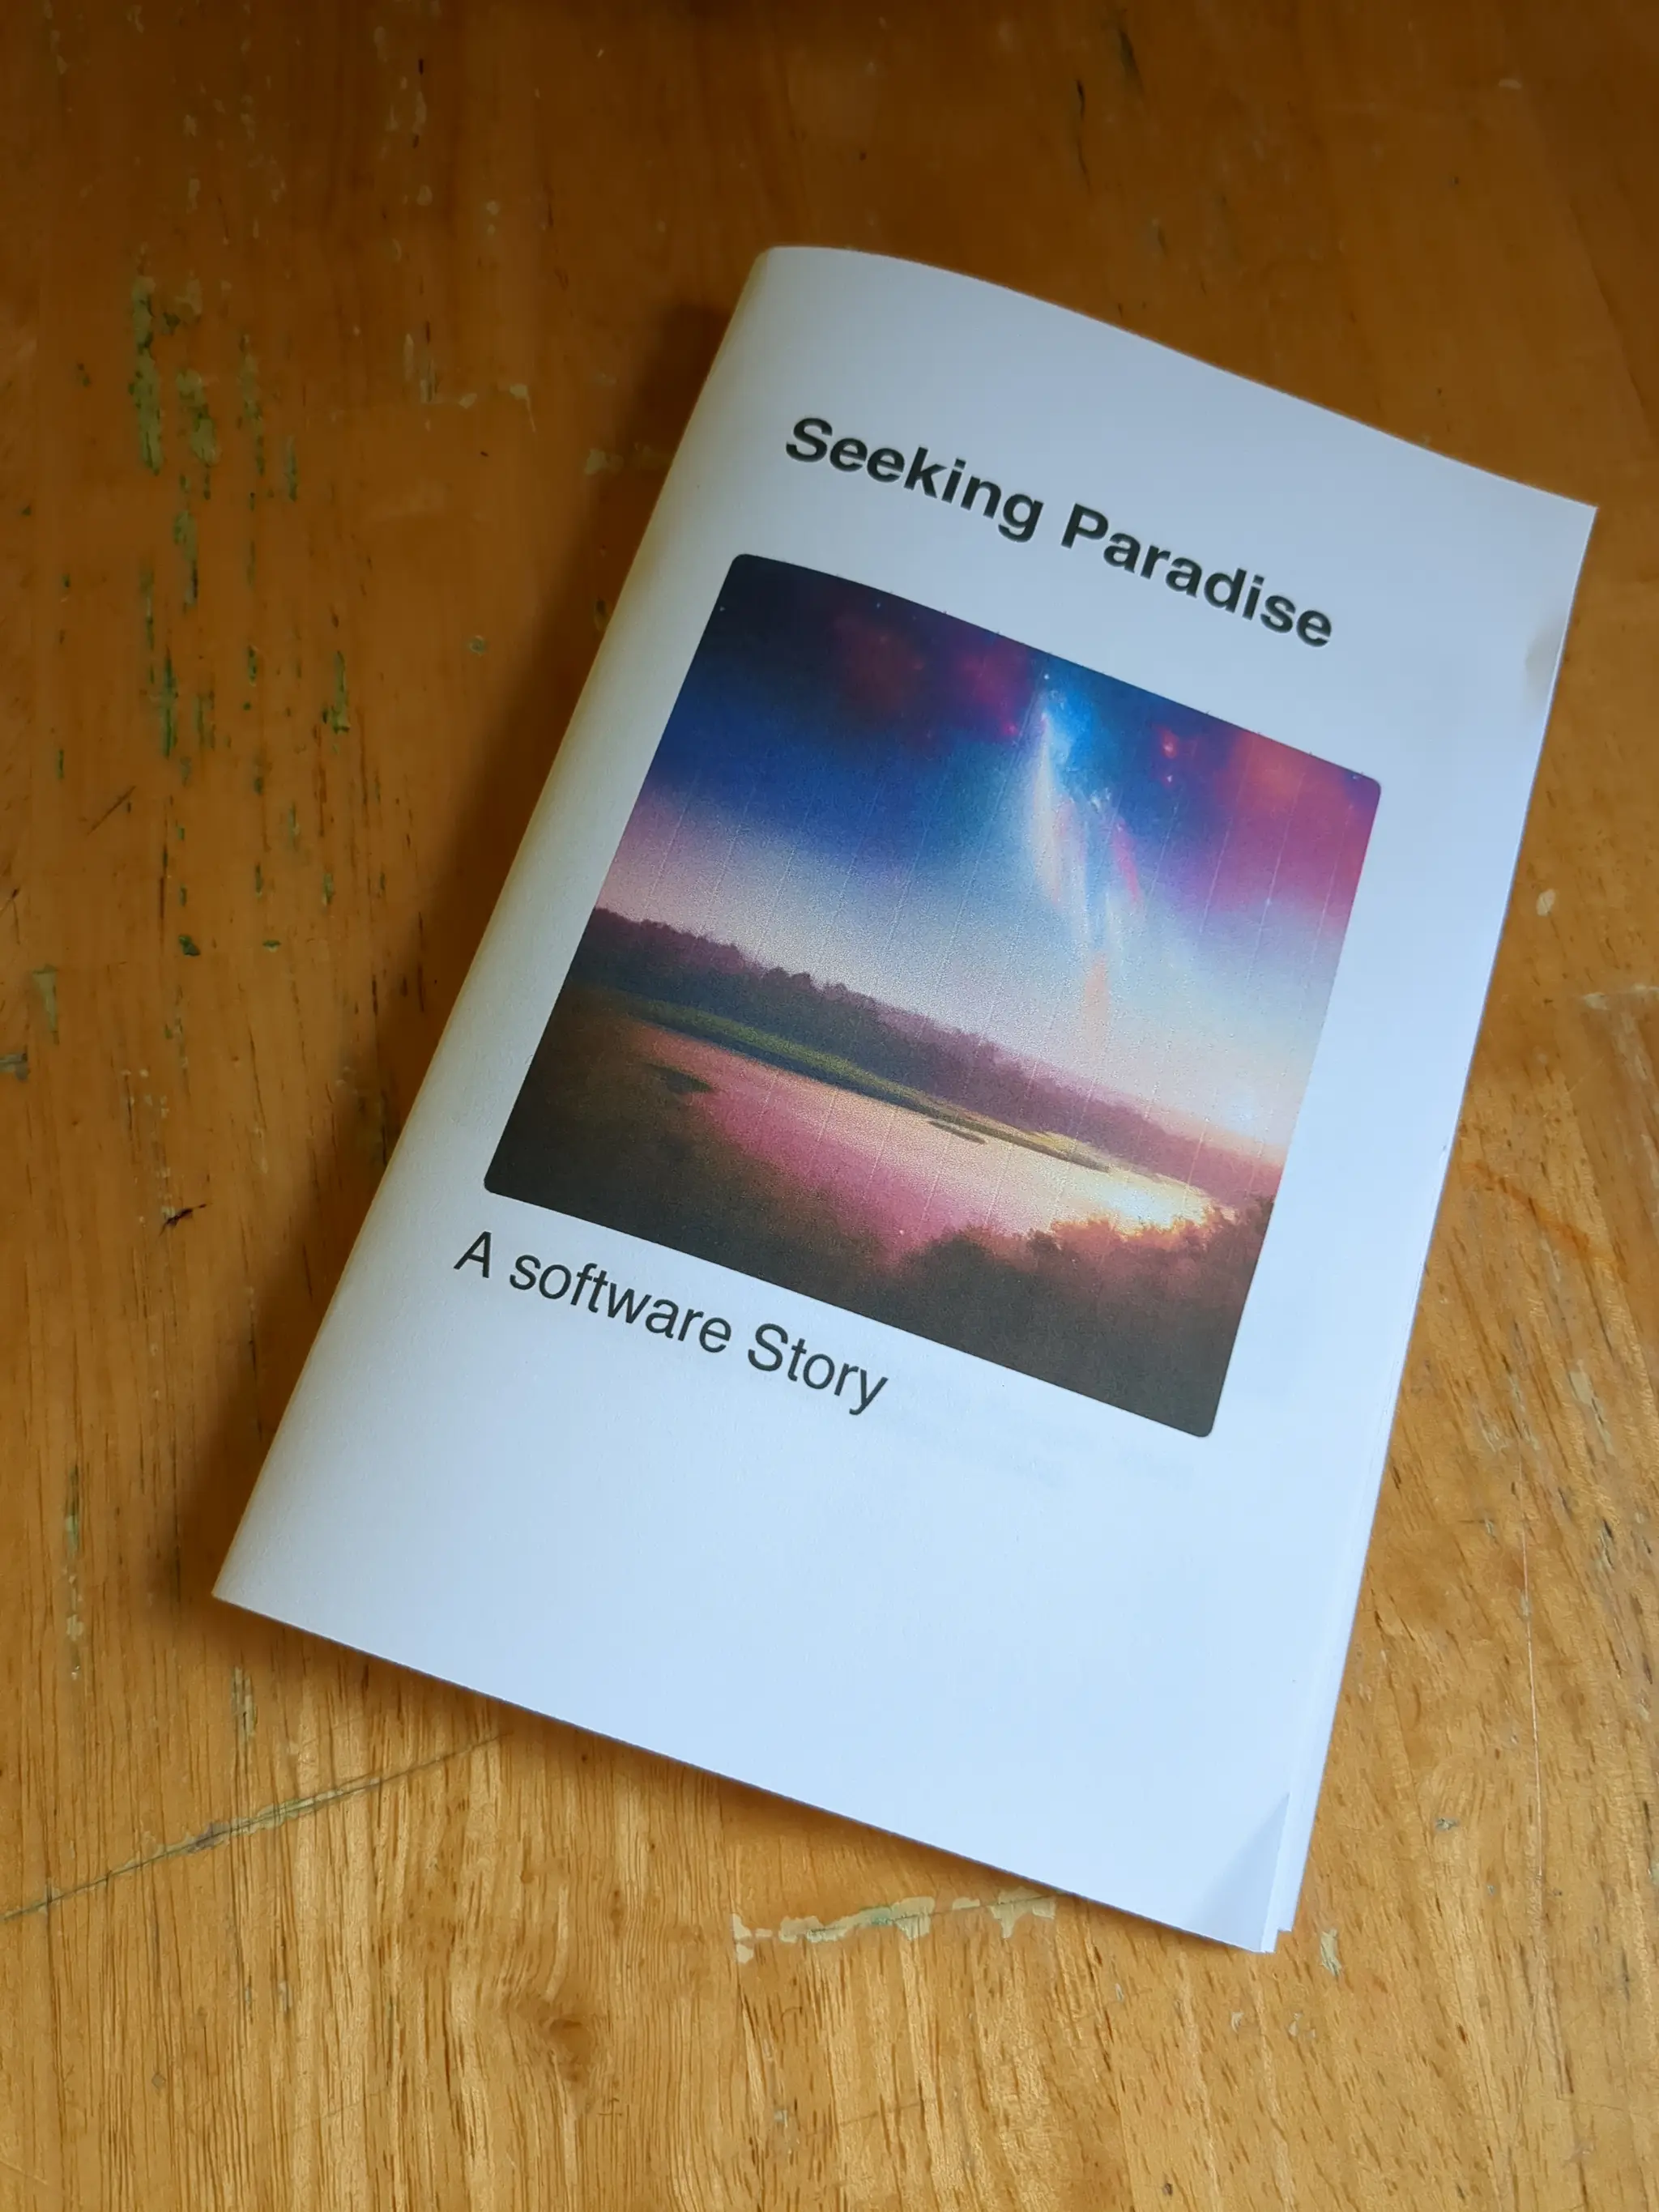
What type of books does it make?
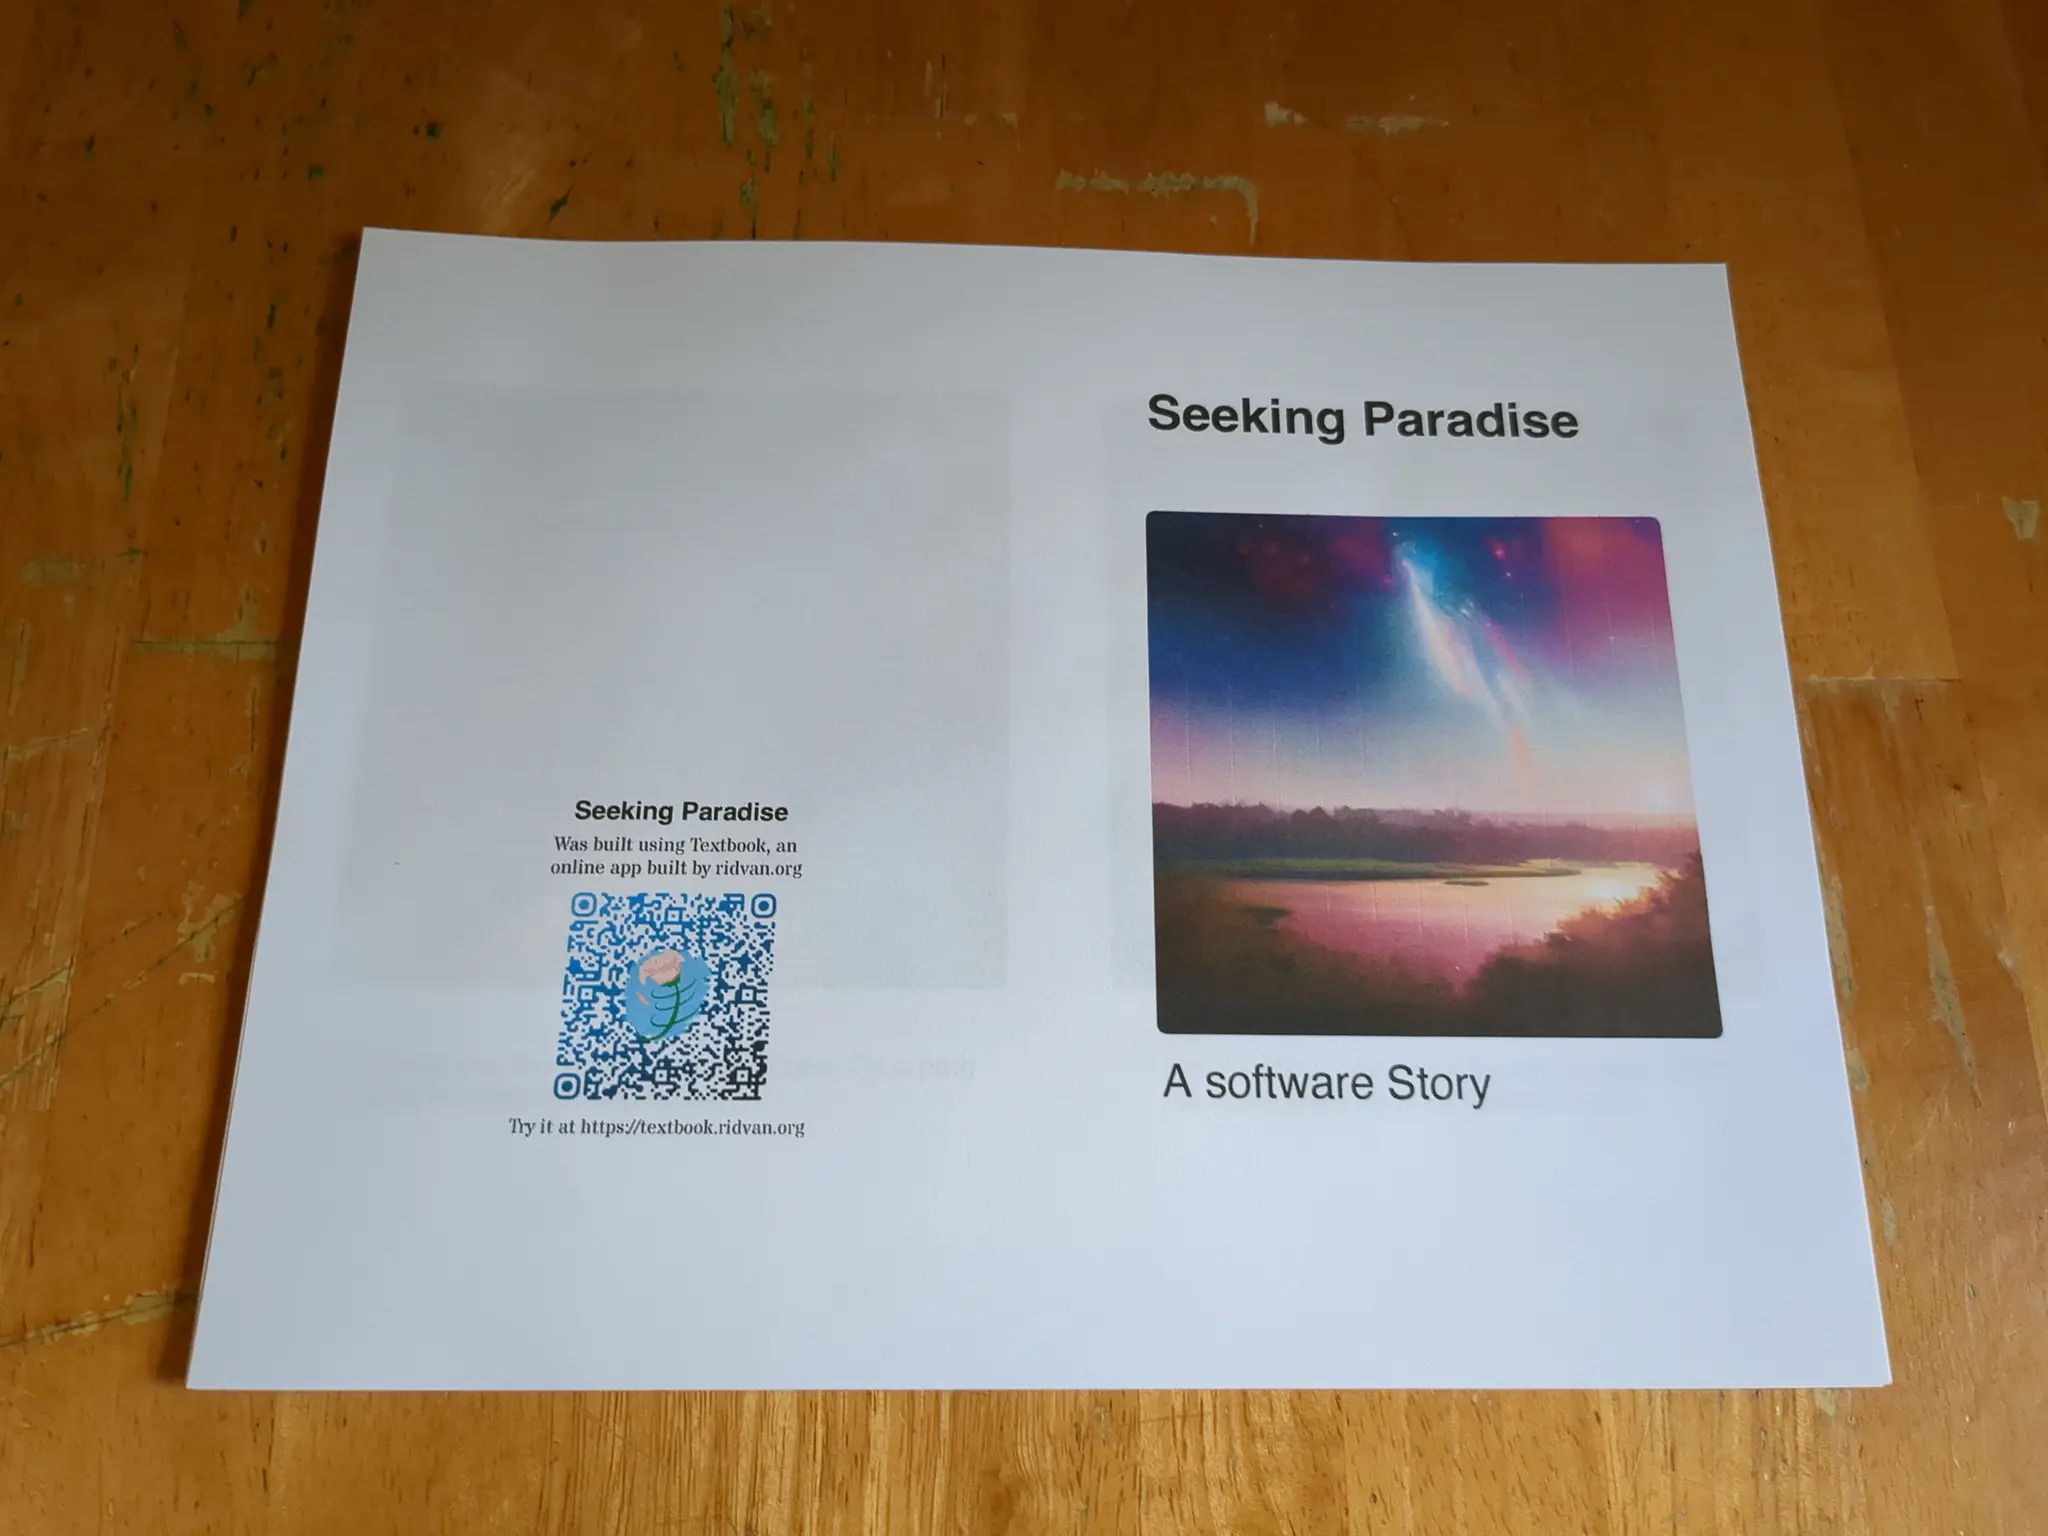
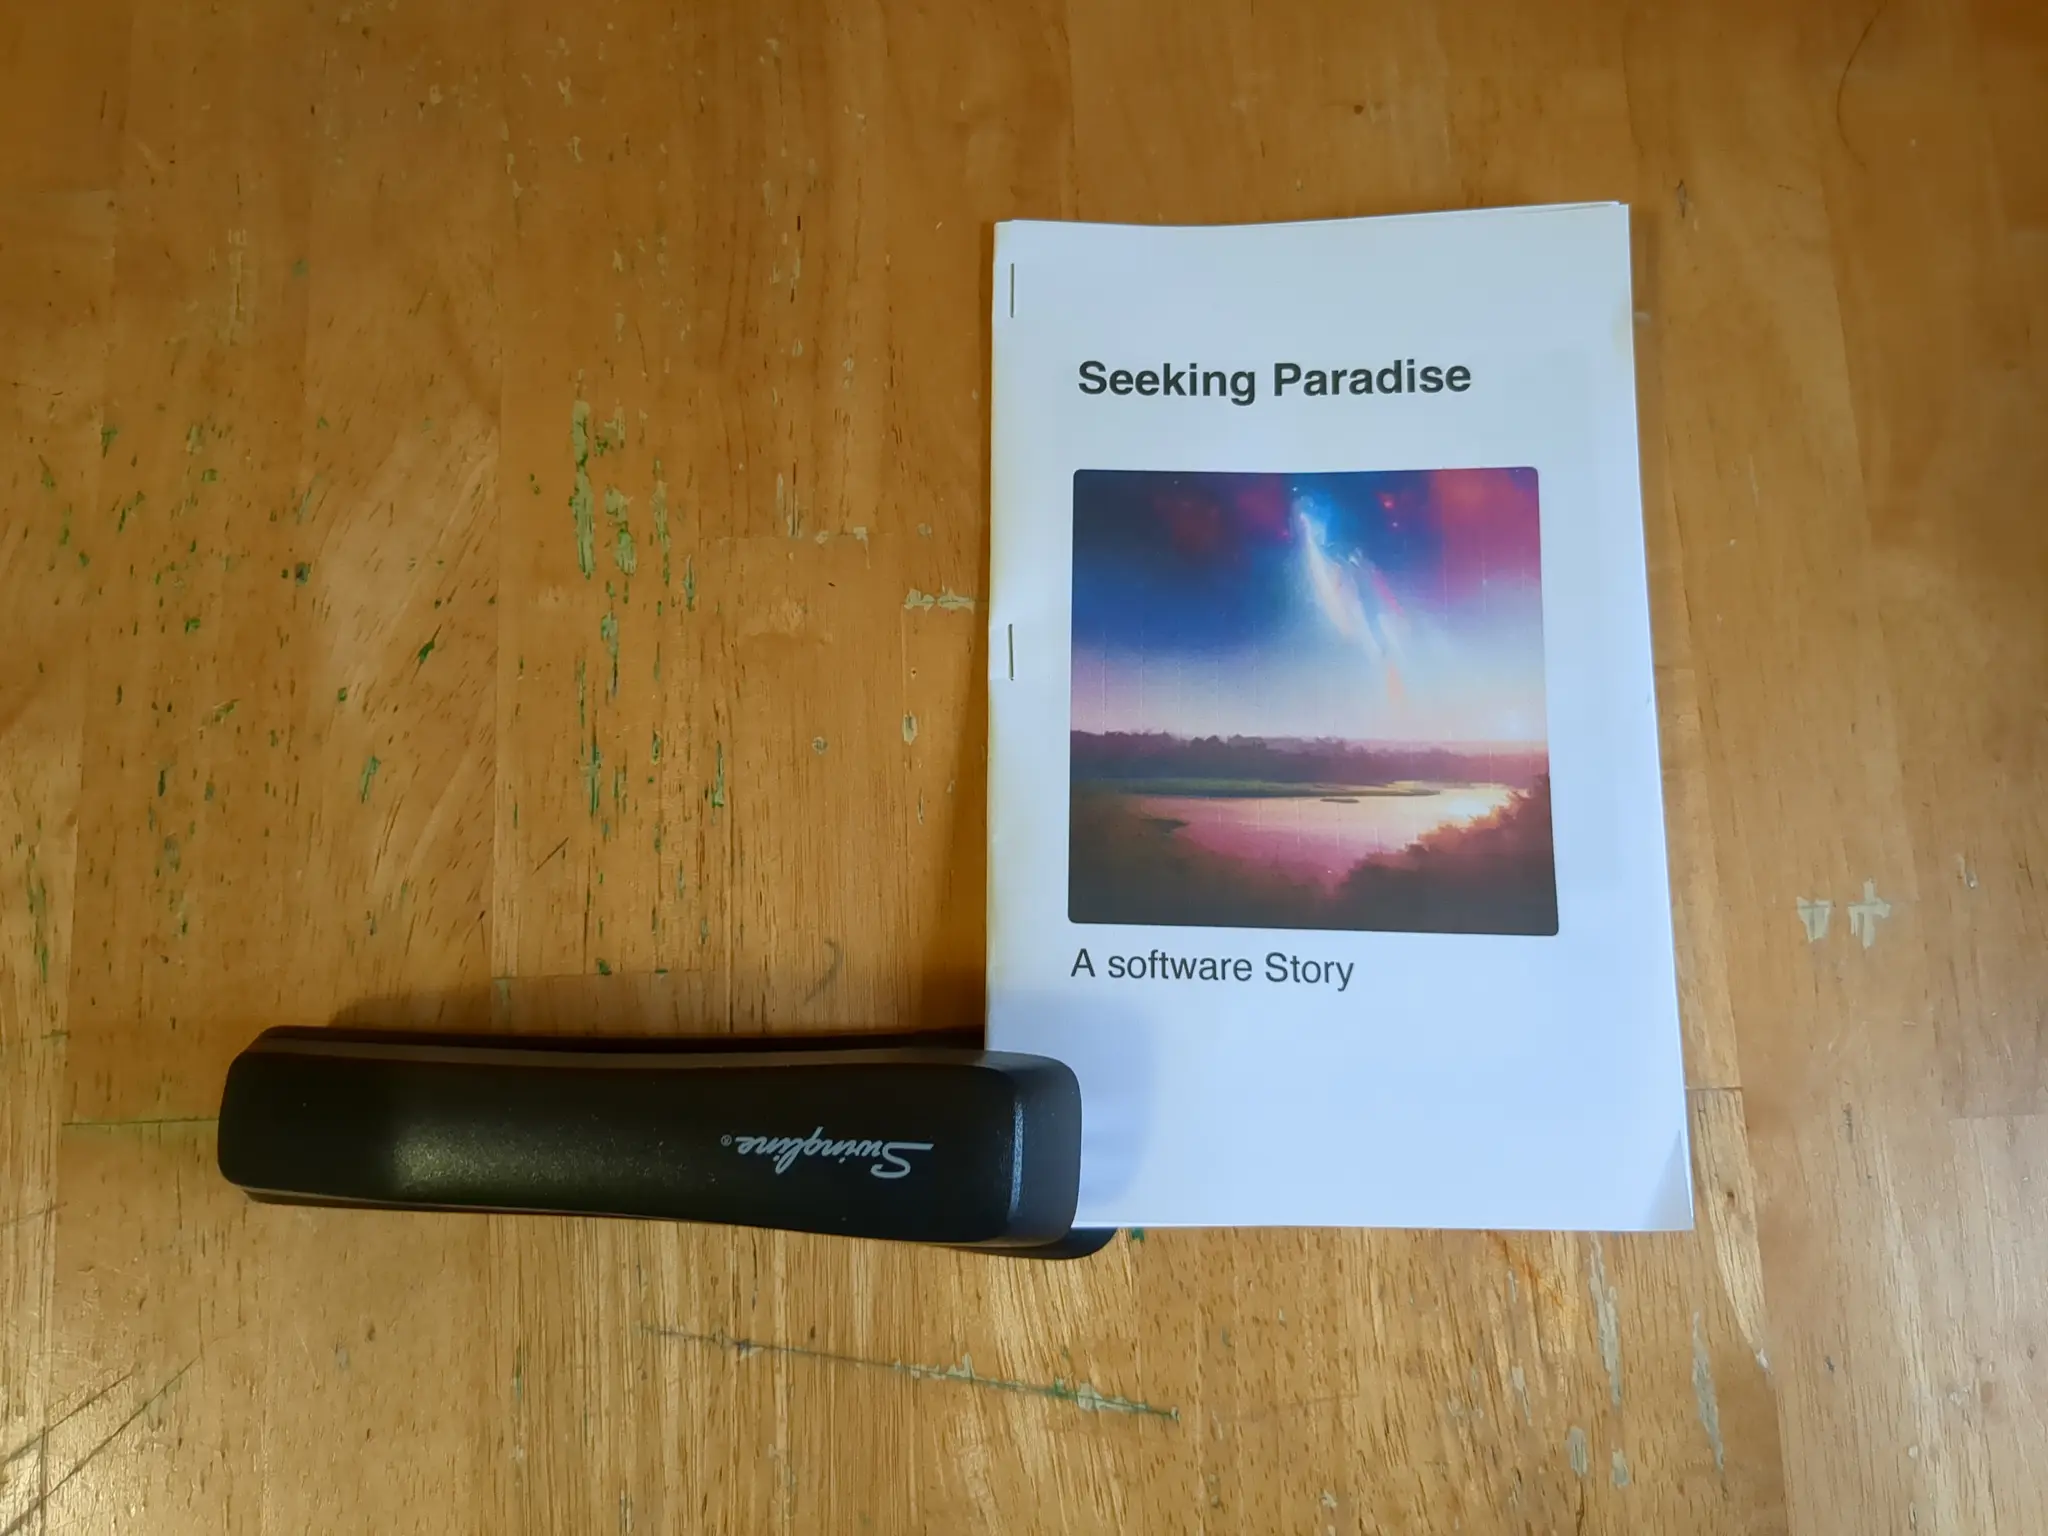
The app generates .pdf files like this old tale.
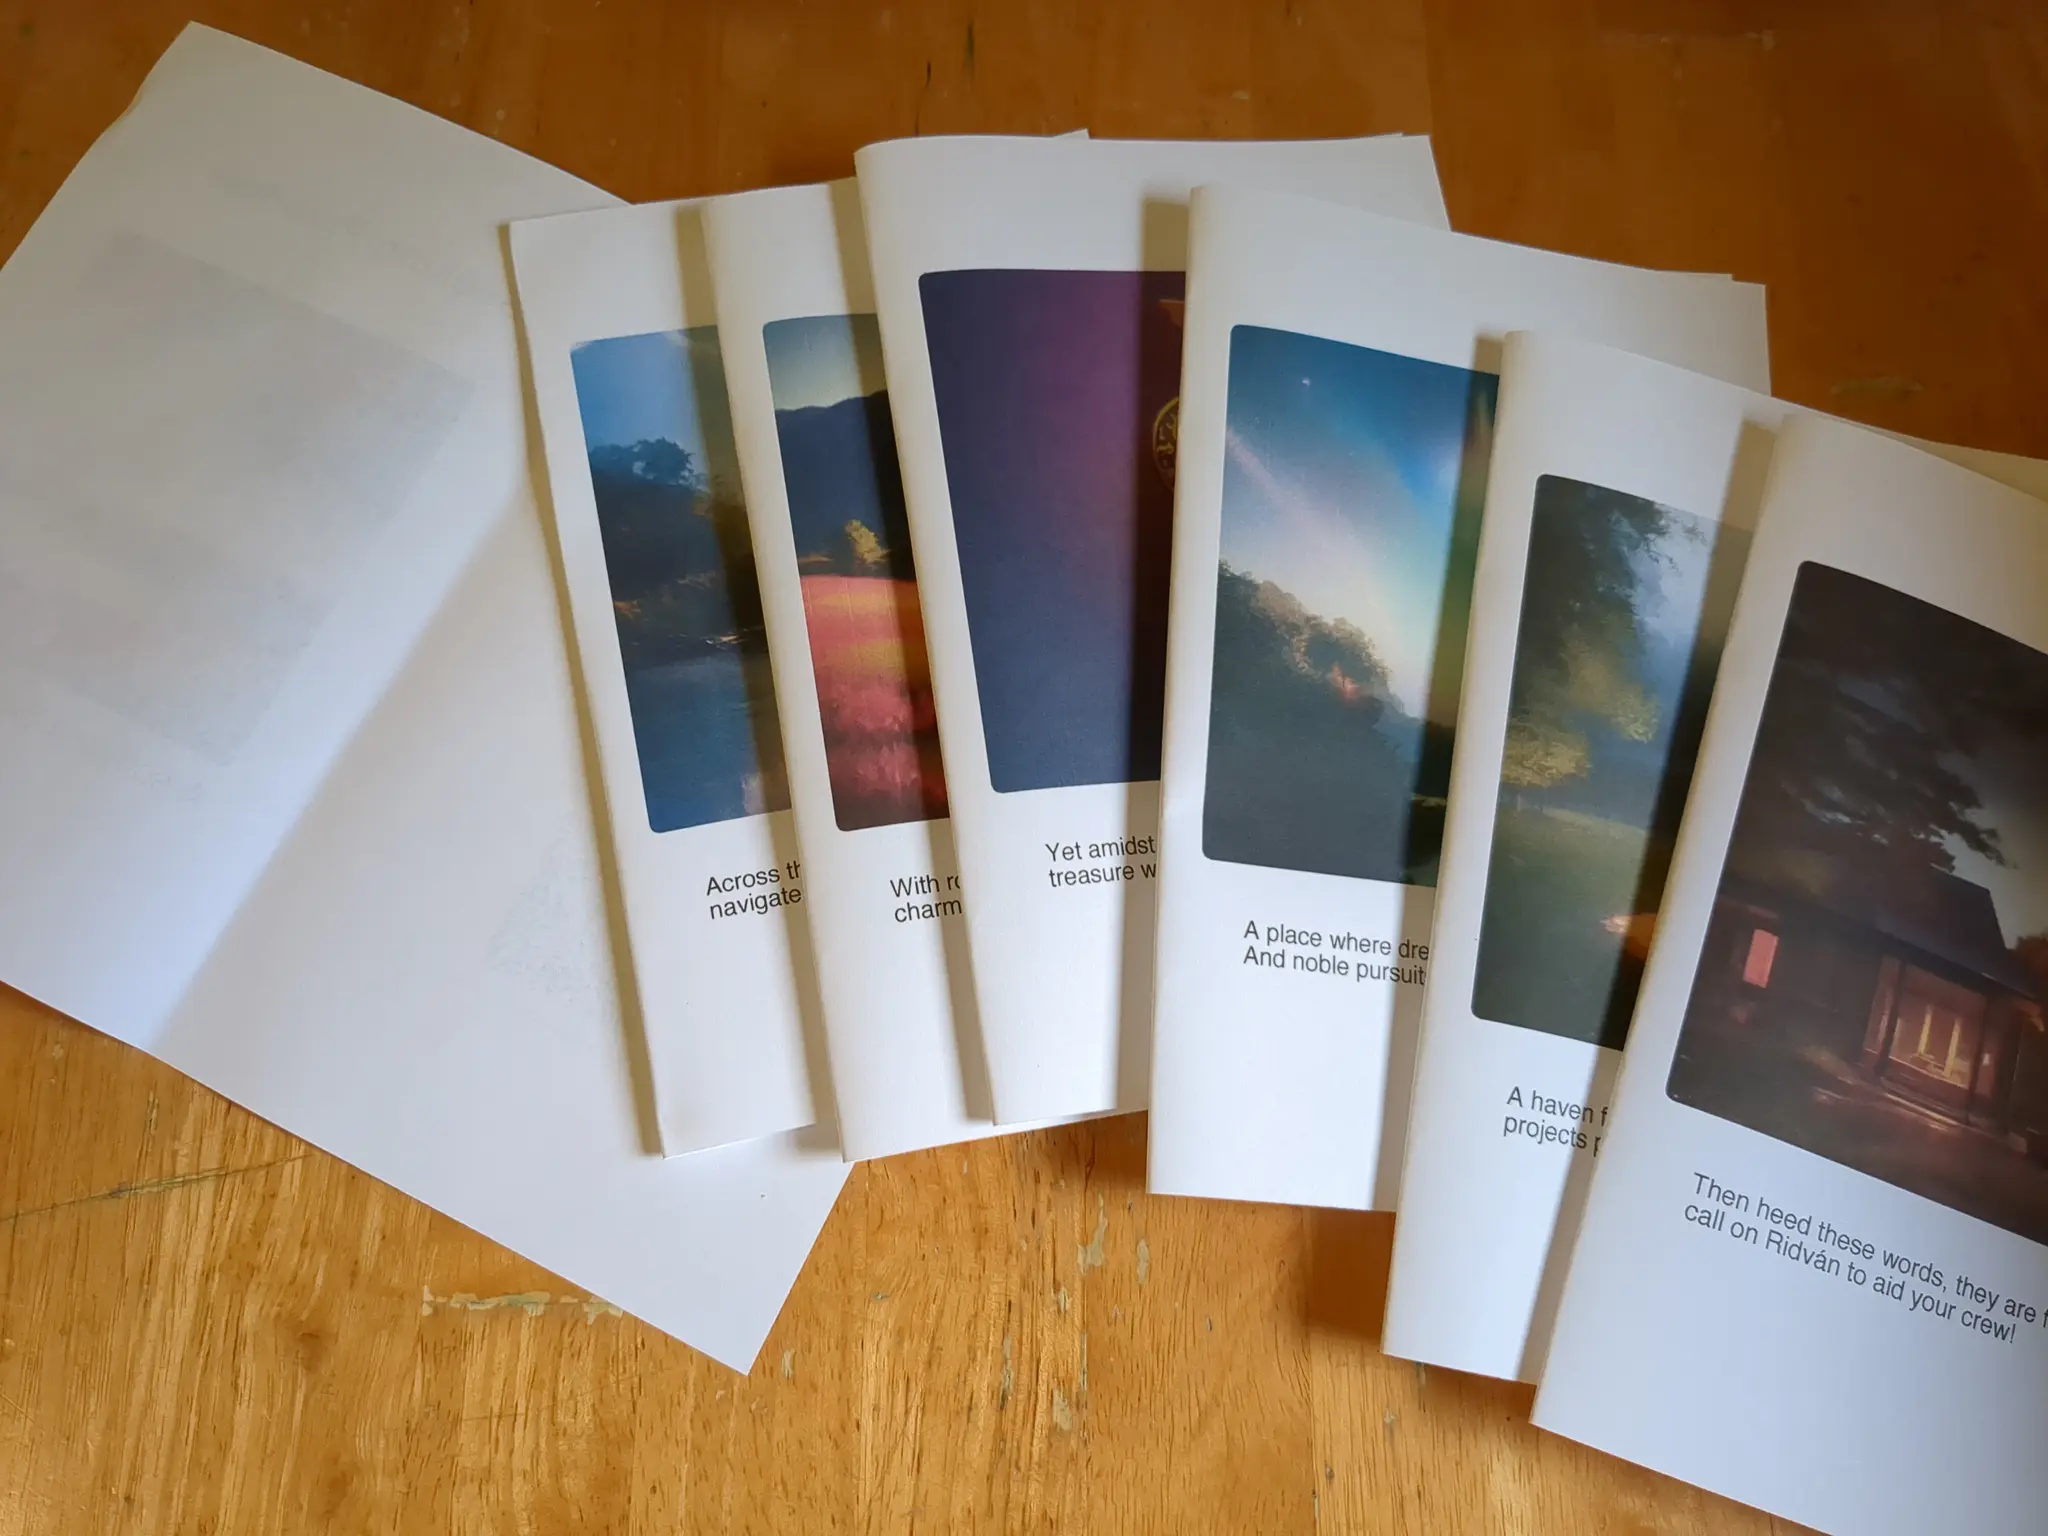
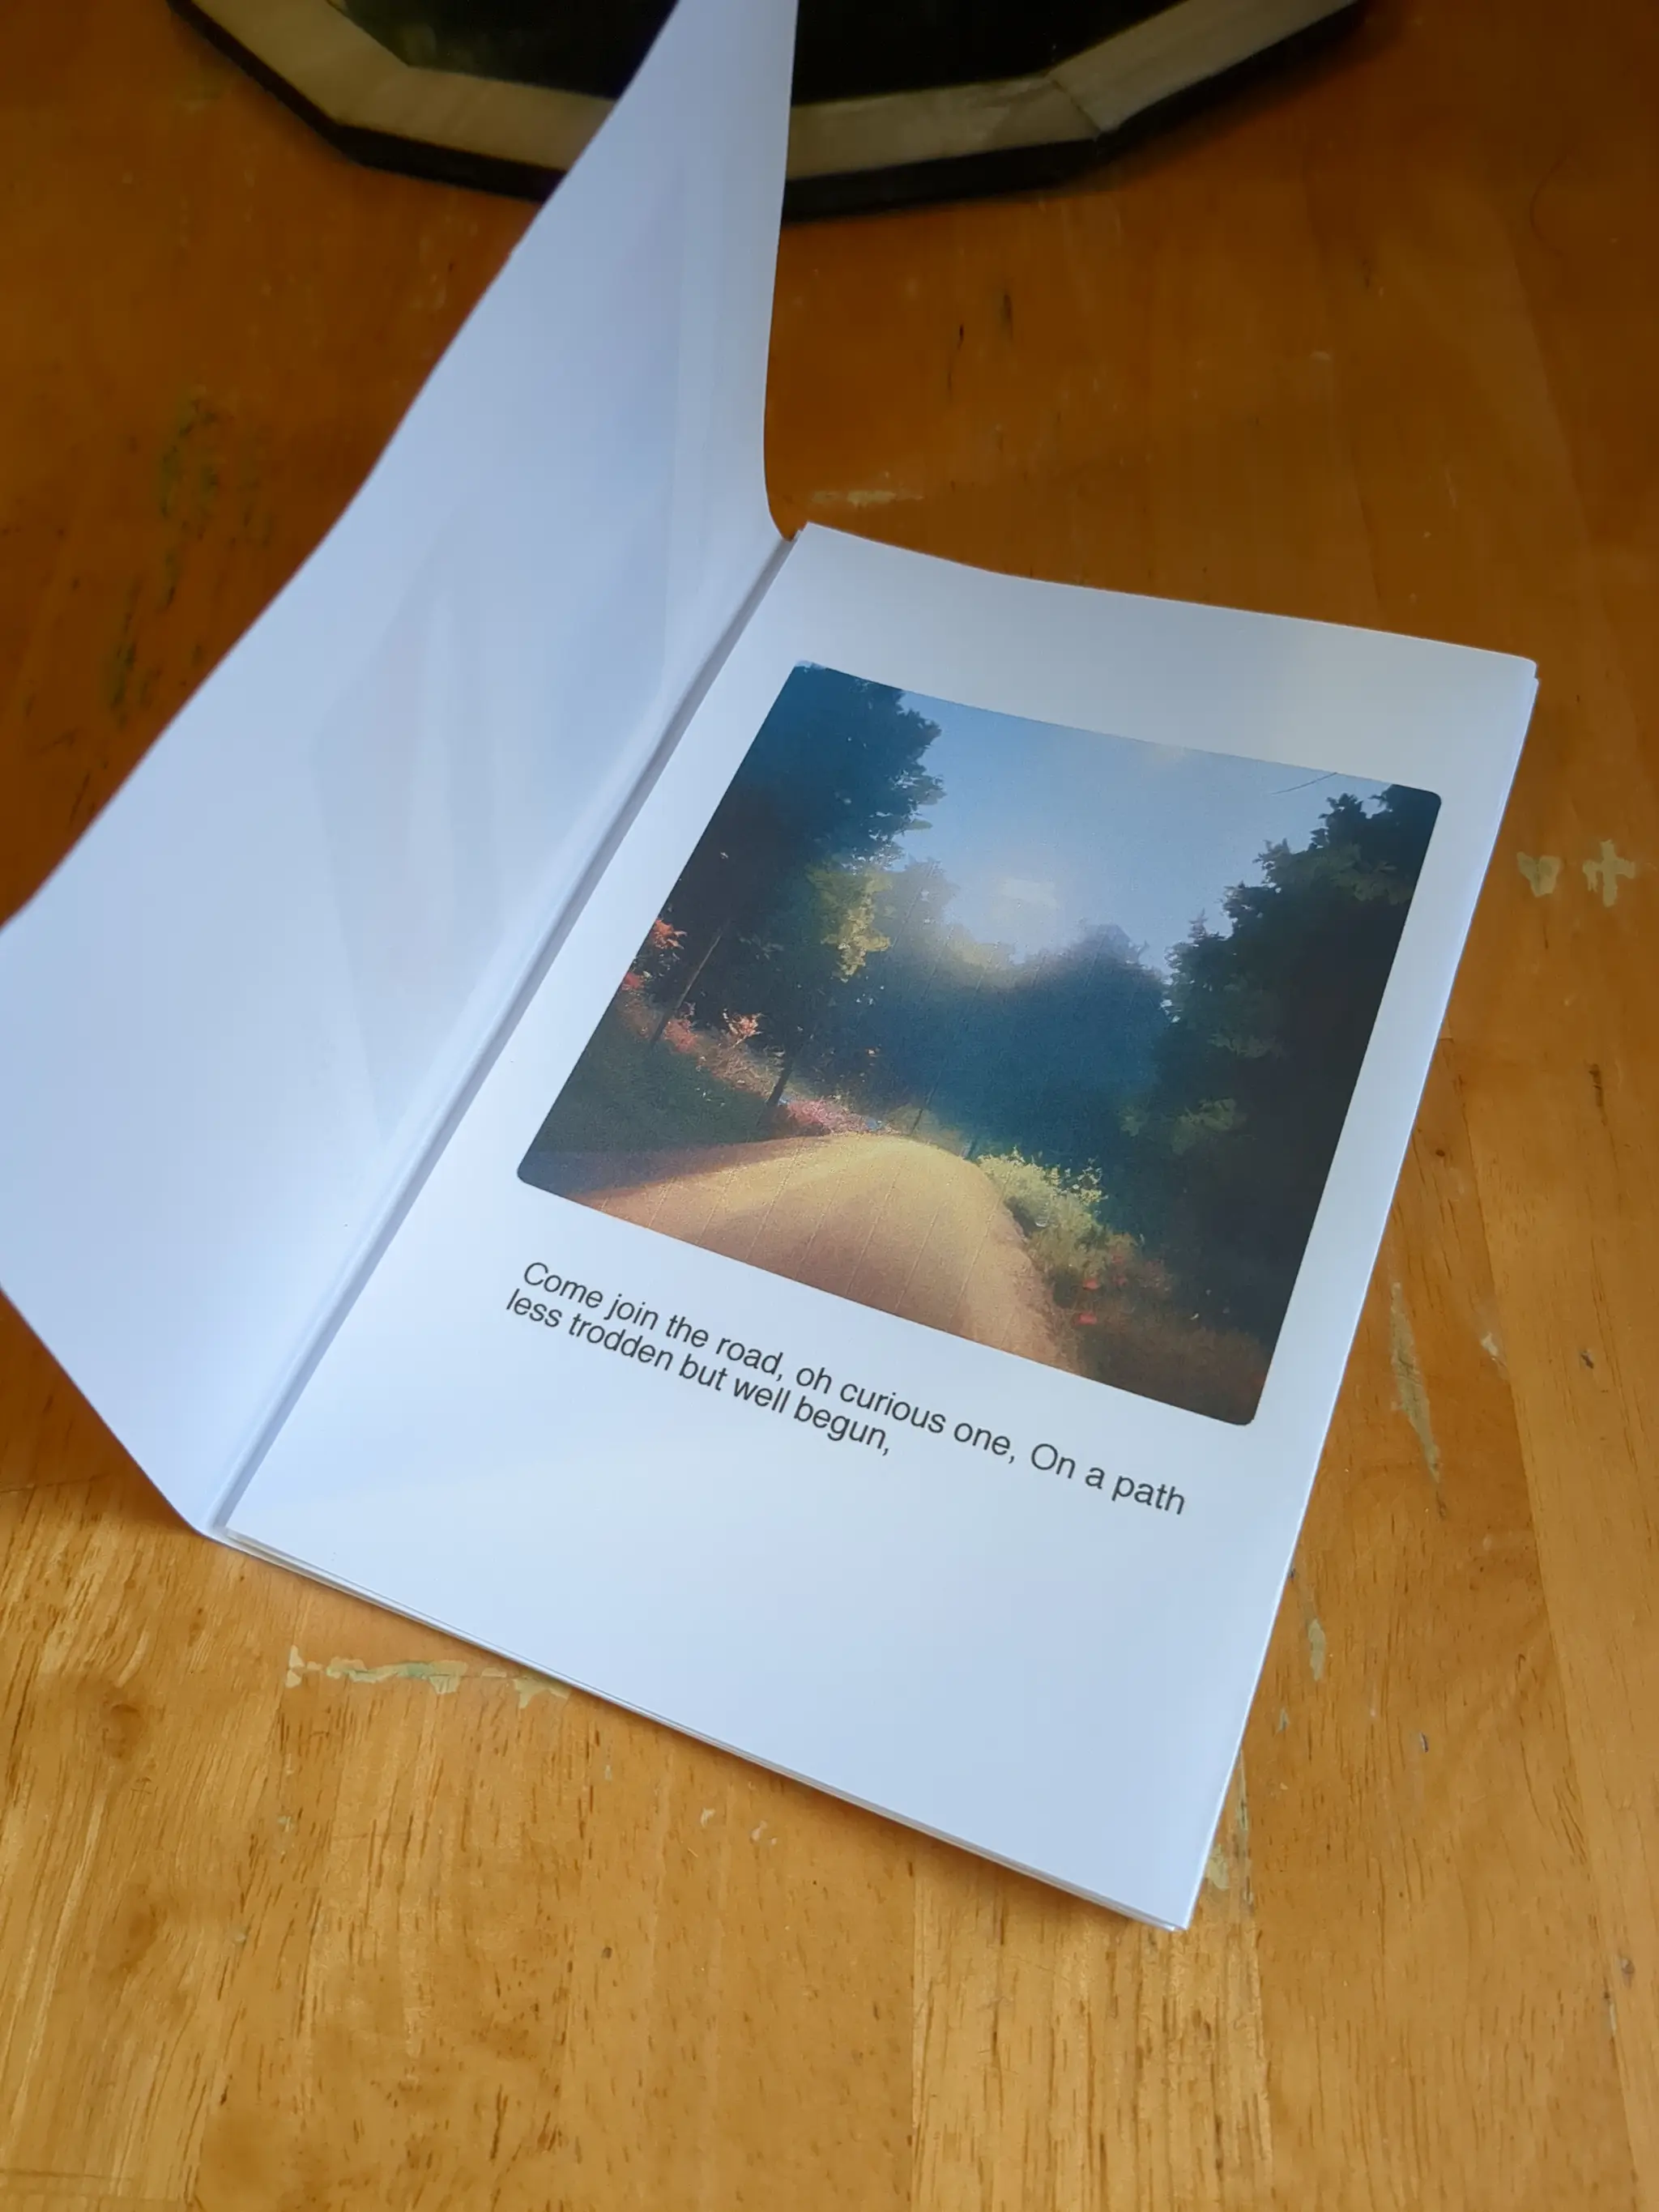
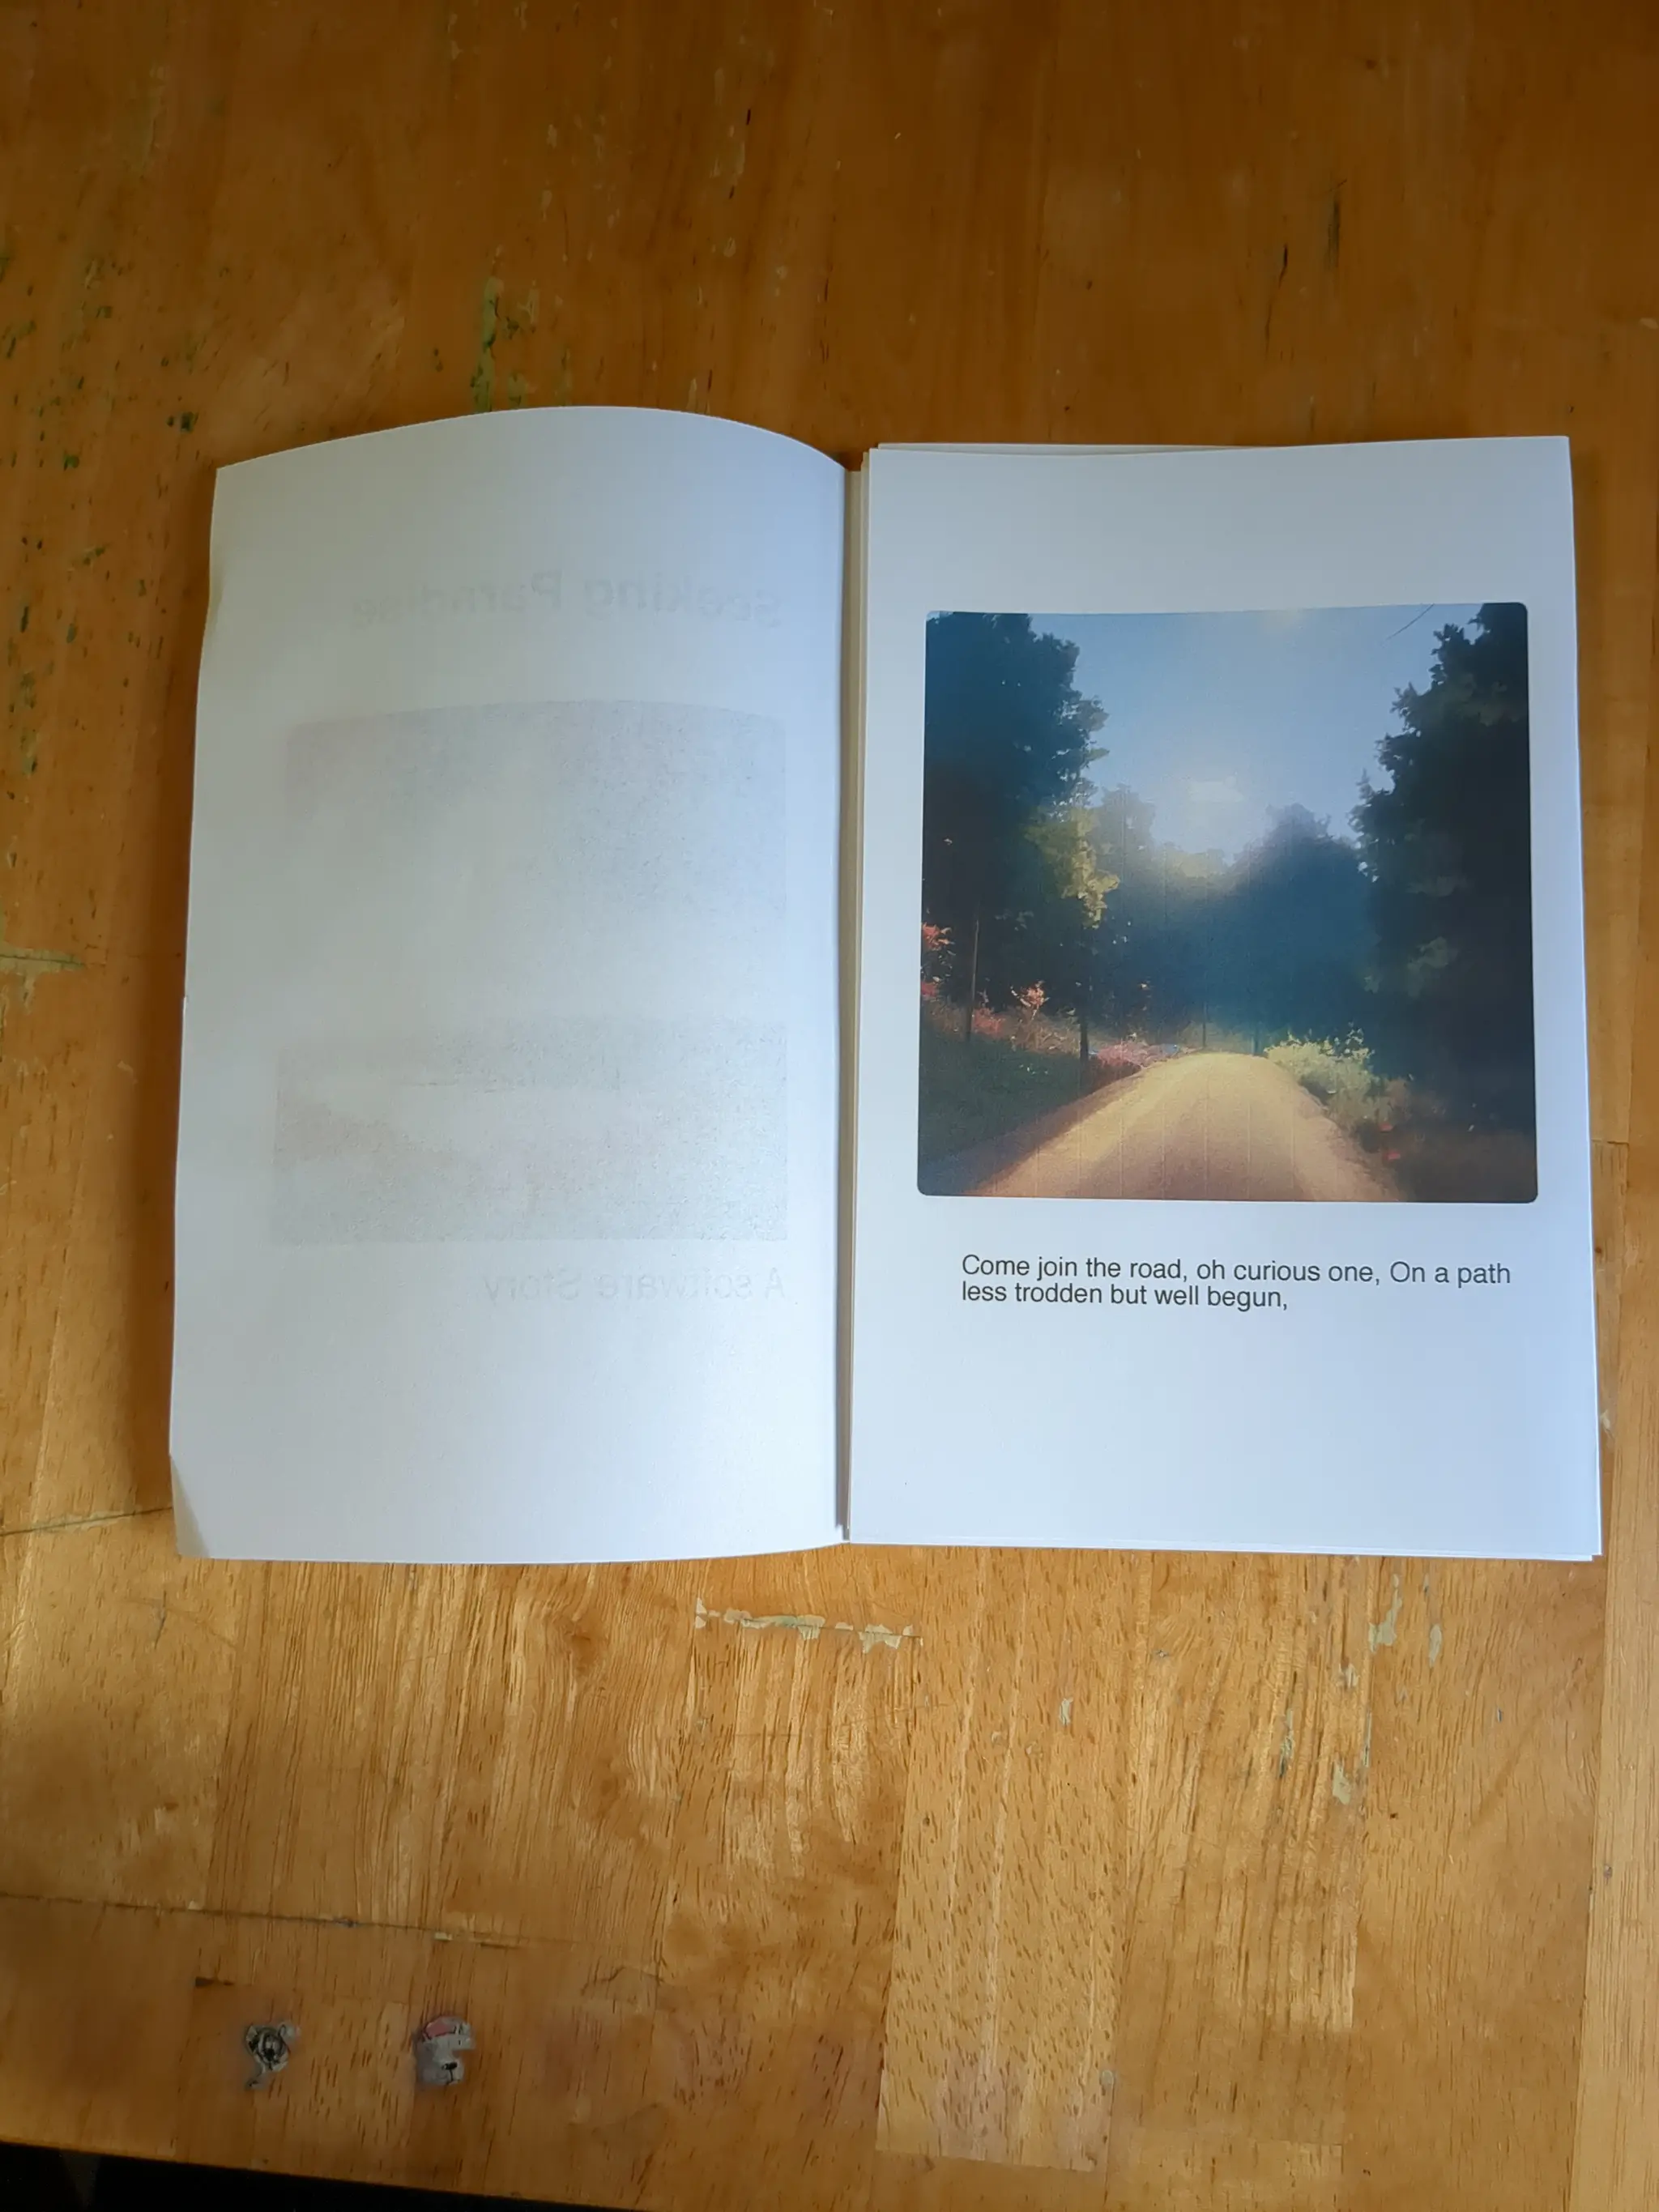
Here is a printed example.
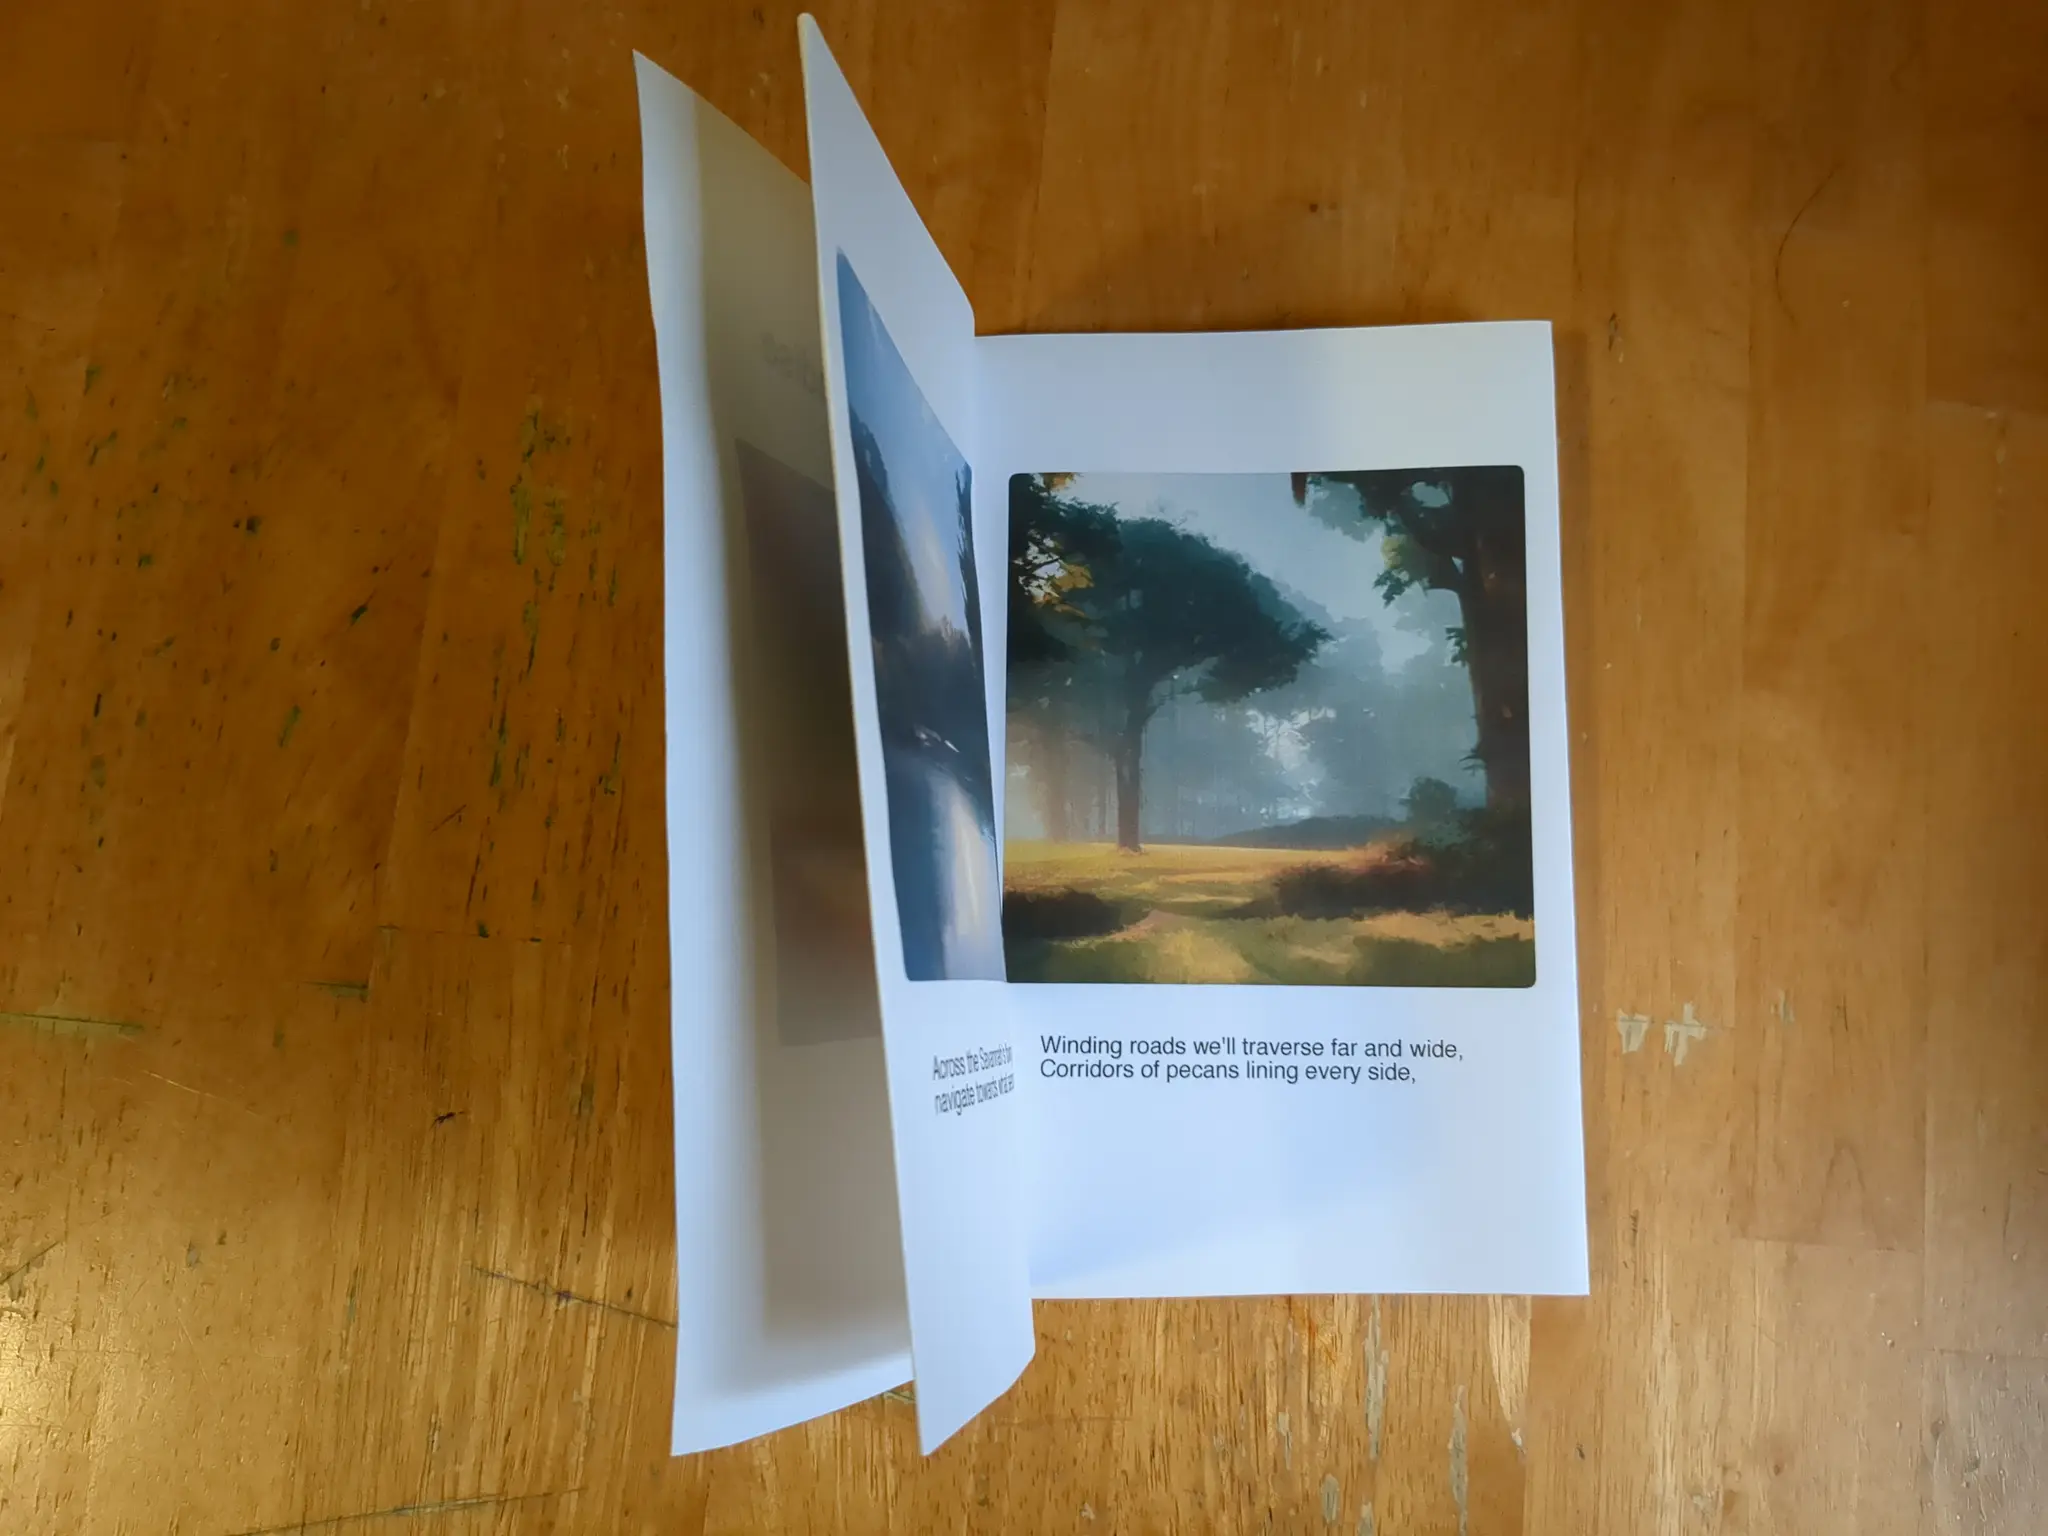
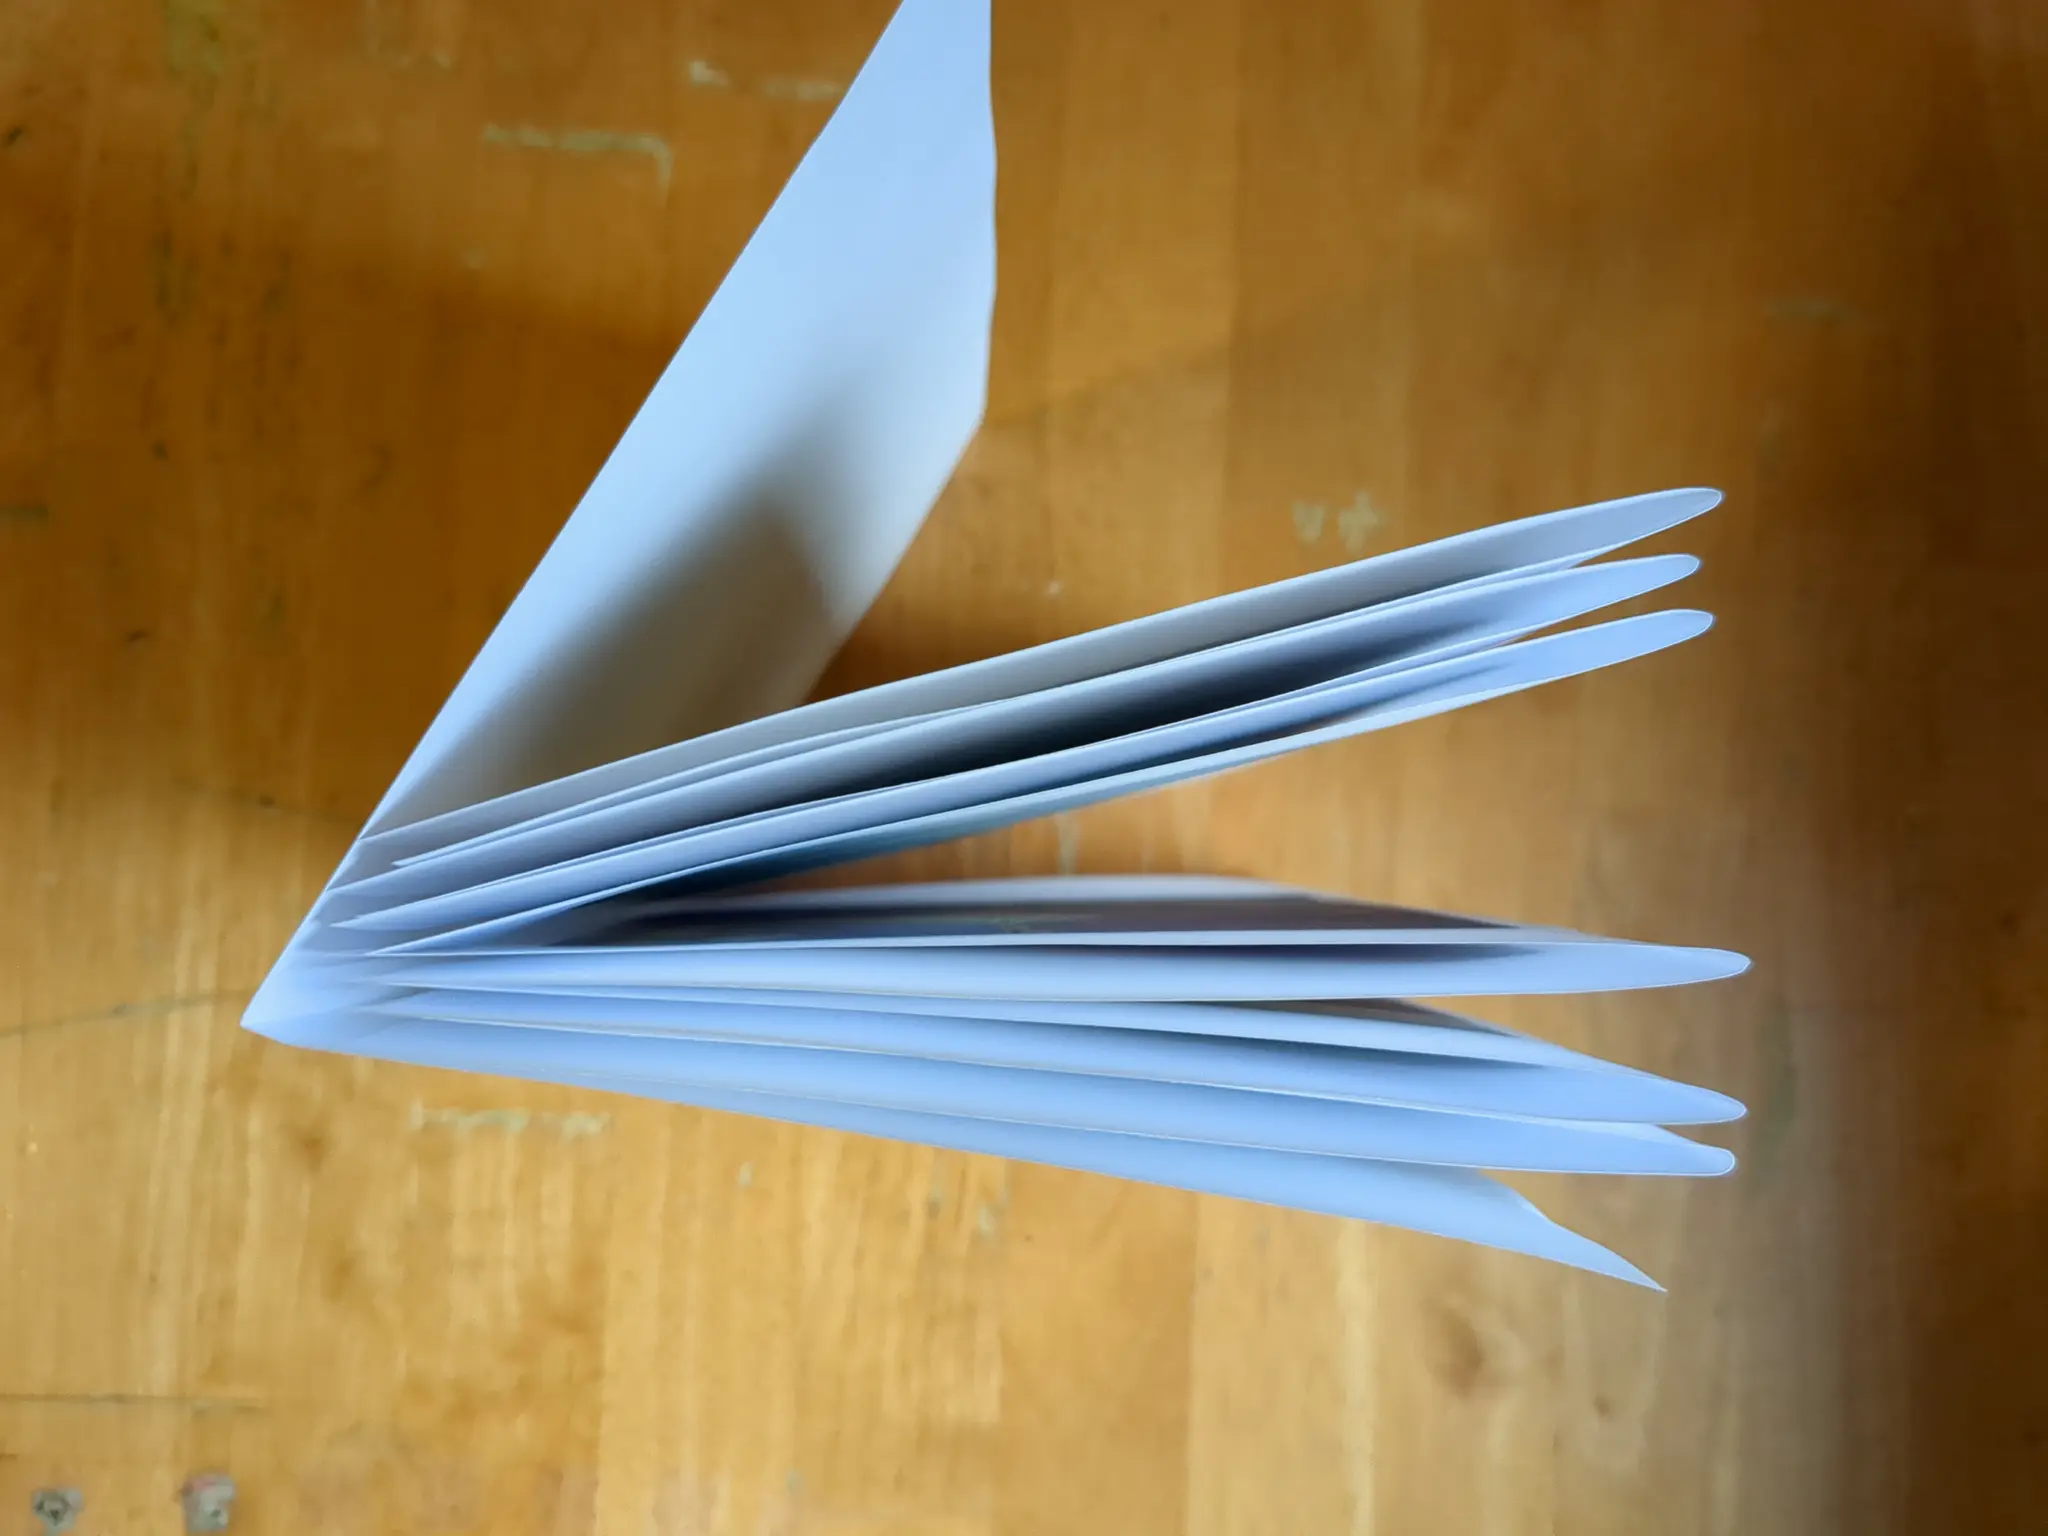
With just staples, we can make the spine of the book soft by folding the pages like this:
What you need
In order to make a printed book with textbook we will need:
- paper
- a printer
- a stapler
For the content of the book we will need:
- To write our own story or words, or copy and paste content such as from a https://wikipedia.org article.
- To bring our own images, these could be your own artwork, photos, images from the internet such as https://pexels.com, or screenshots etc
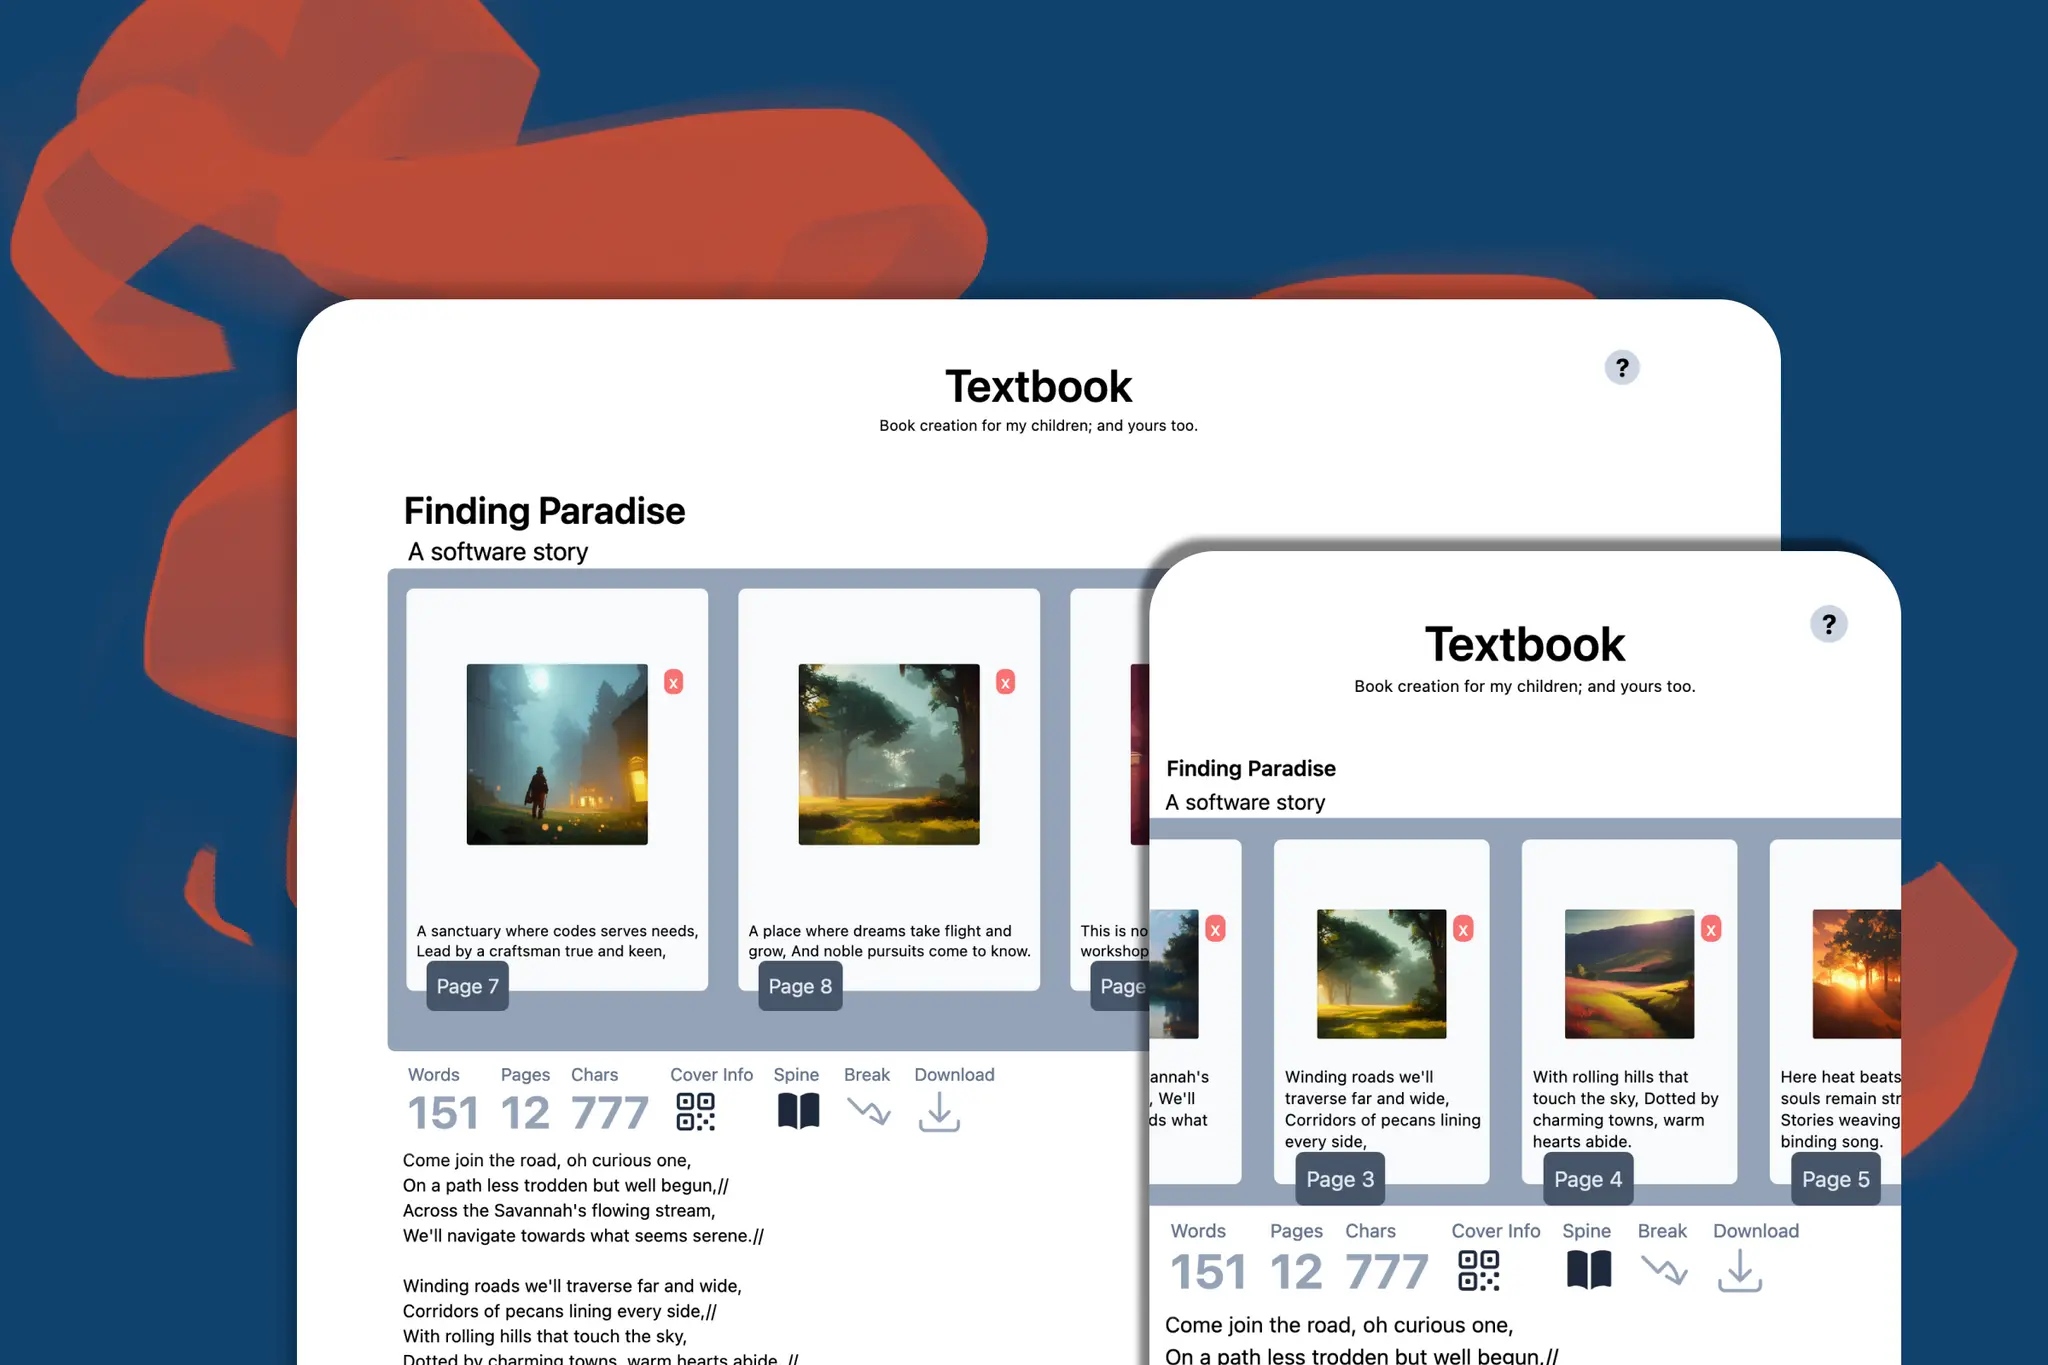
How To Use Textbook
We have a space to input a title and subtitle.
Here we can preview each page, and see how content is split up page to page.
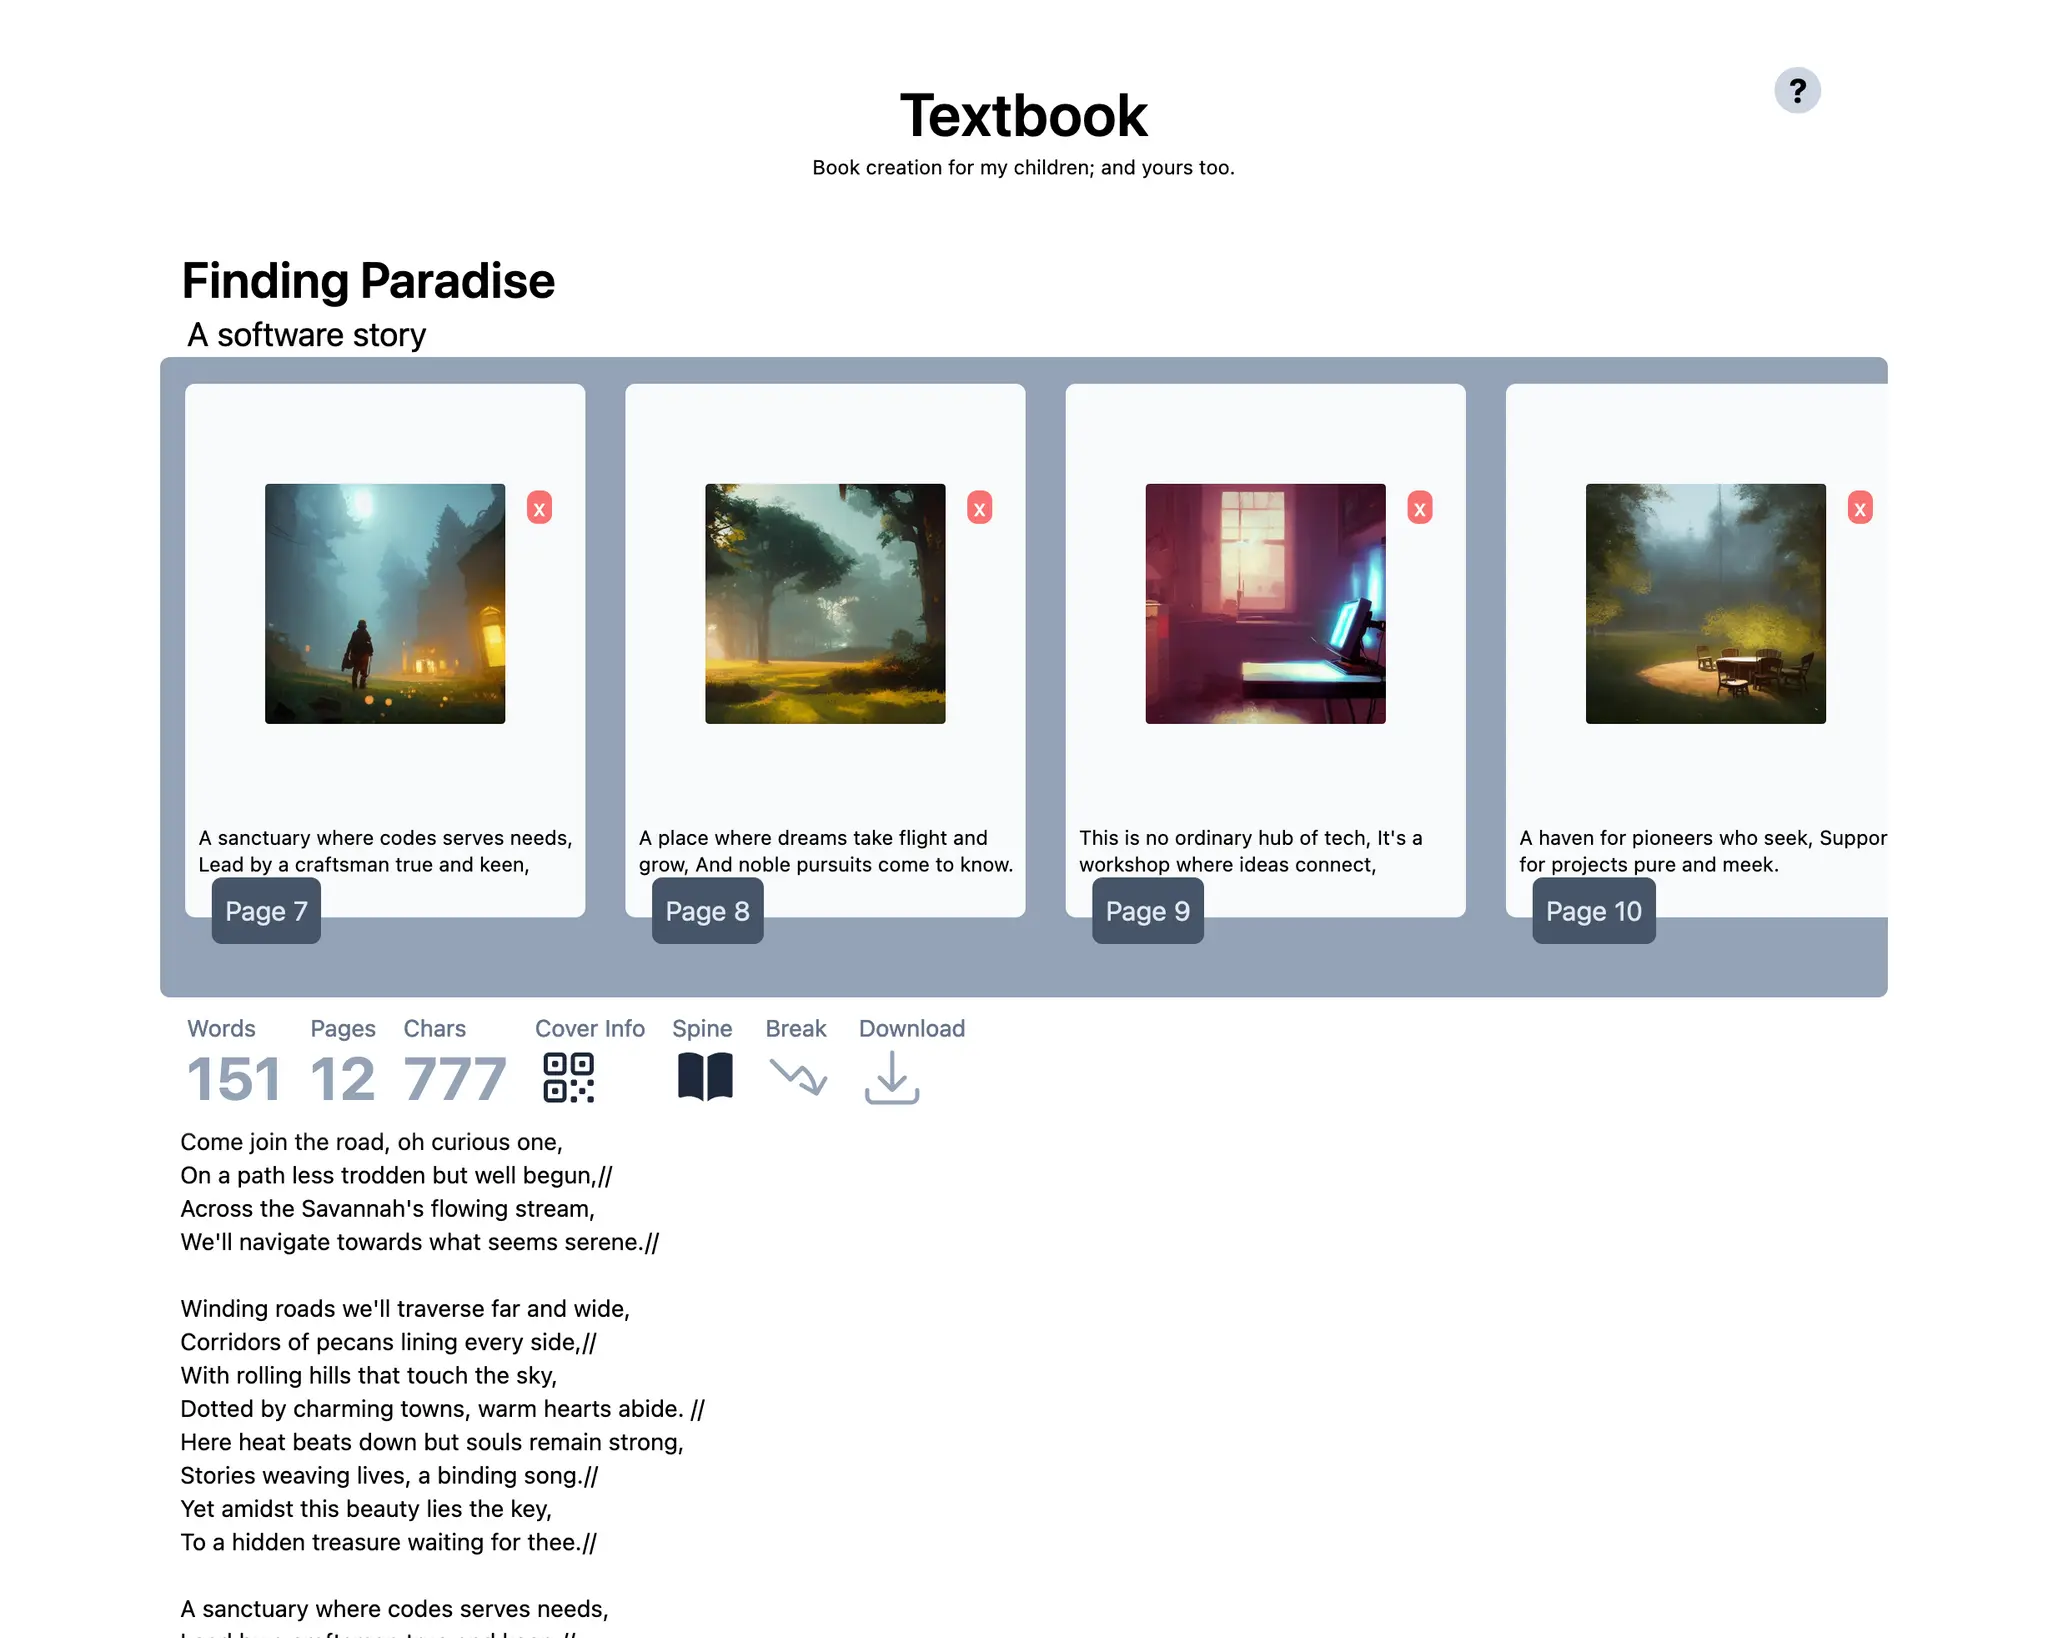
We can also add images in the page preview.
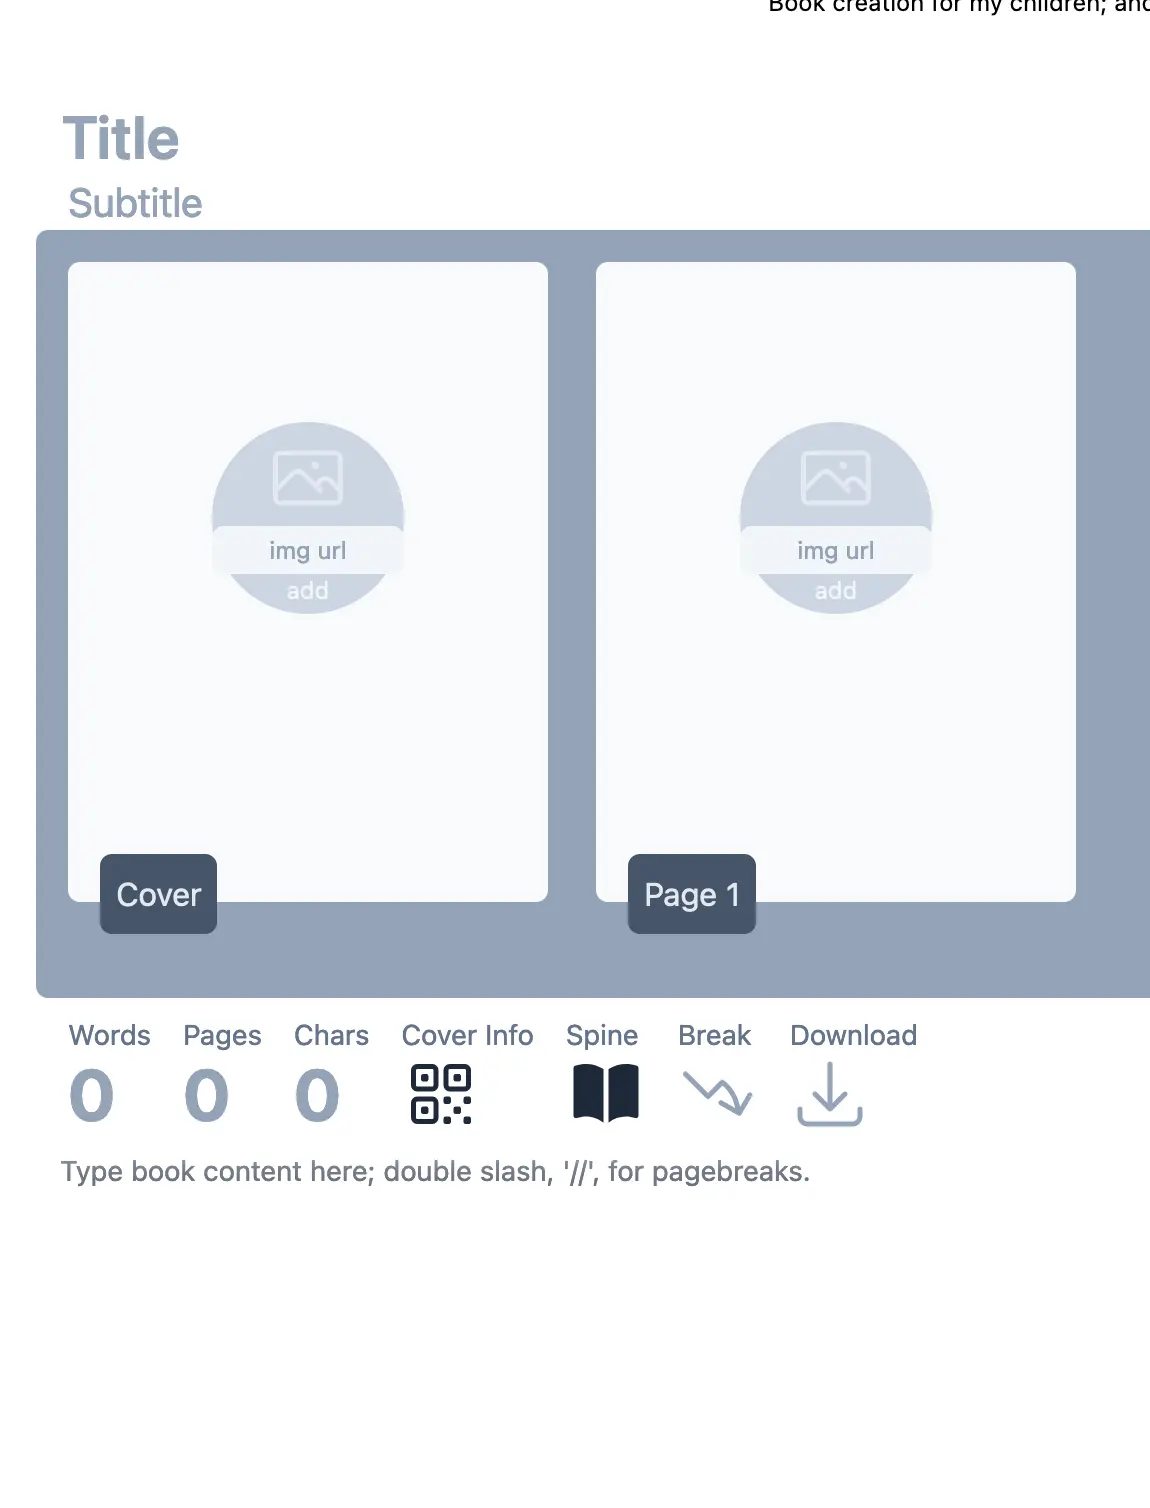
To add an image from your devices either drag and drop the image over the page you want it on or click the image icon and find the image in your filesystem.
To add an image from the web you can right click an image on the internet and select copy image link, then paste it into the img url area on the page you want it on. Then click add.

By clicking the "words" "pages" and "chars" buttons we can toggle whether or not the word count, page count, and character count are displayed on the front of the book. These default to off.
The Info button toggle is to display information for how the book was made with a qr code on the back cover linking to textbook. This defaults to on.
The Spine toggle is to choose where the back cover page prints. When the toggle is on the back cover will be the first page. This option is for when you want the cover pages to fold around the rest of the pages for a smooth spine. If you turn this off the cover page will be the last page and you would arrange the covers just like the rest of the pages before stapling. This defaults to on. With this on the pdf will be ordered to allow the back of the books spine to be smooth from the folded paper instead of the rough edges. Turning it off will make the cover page of the book the first page of the pdf.
Break lets us add a page break after any sentence end in our text. Its great for when you paste in a chunk of text and want a starting point to edit from. It tries to avoid adding page breaks within quotes.
Download generates the pdf and downloads it to your device.
Next is the main editor. Here is where you will add the main content of the book. Anywhere you add // will be a page break. White space such as (spacebar), and (tab) will be ignored before and after pagebreaks. Any extra space between words will be removed. Newlines are ignored, so you can use them while editing for clarity in the editor.
How to make the book
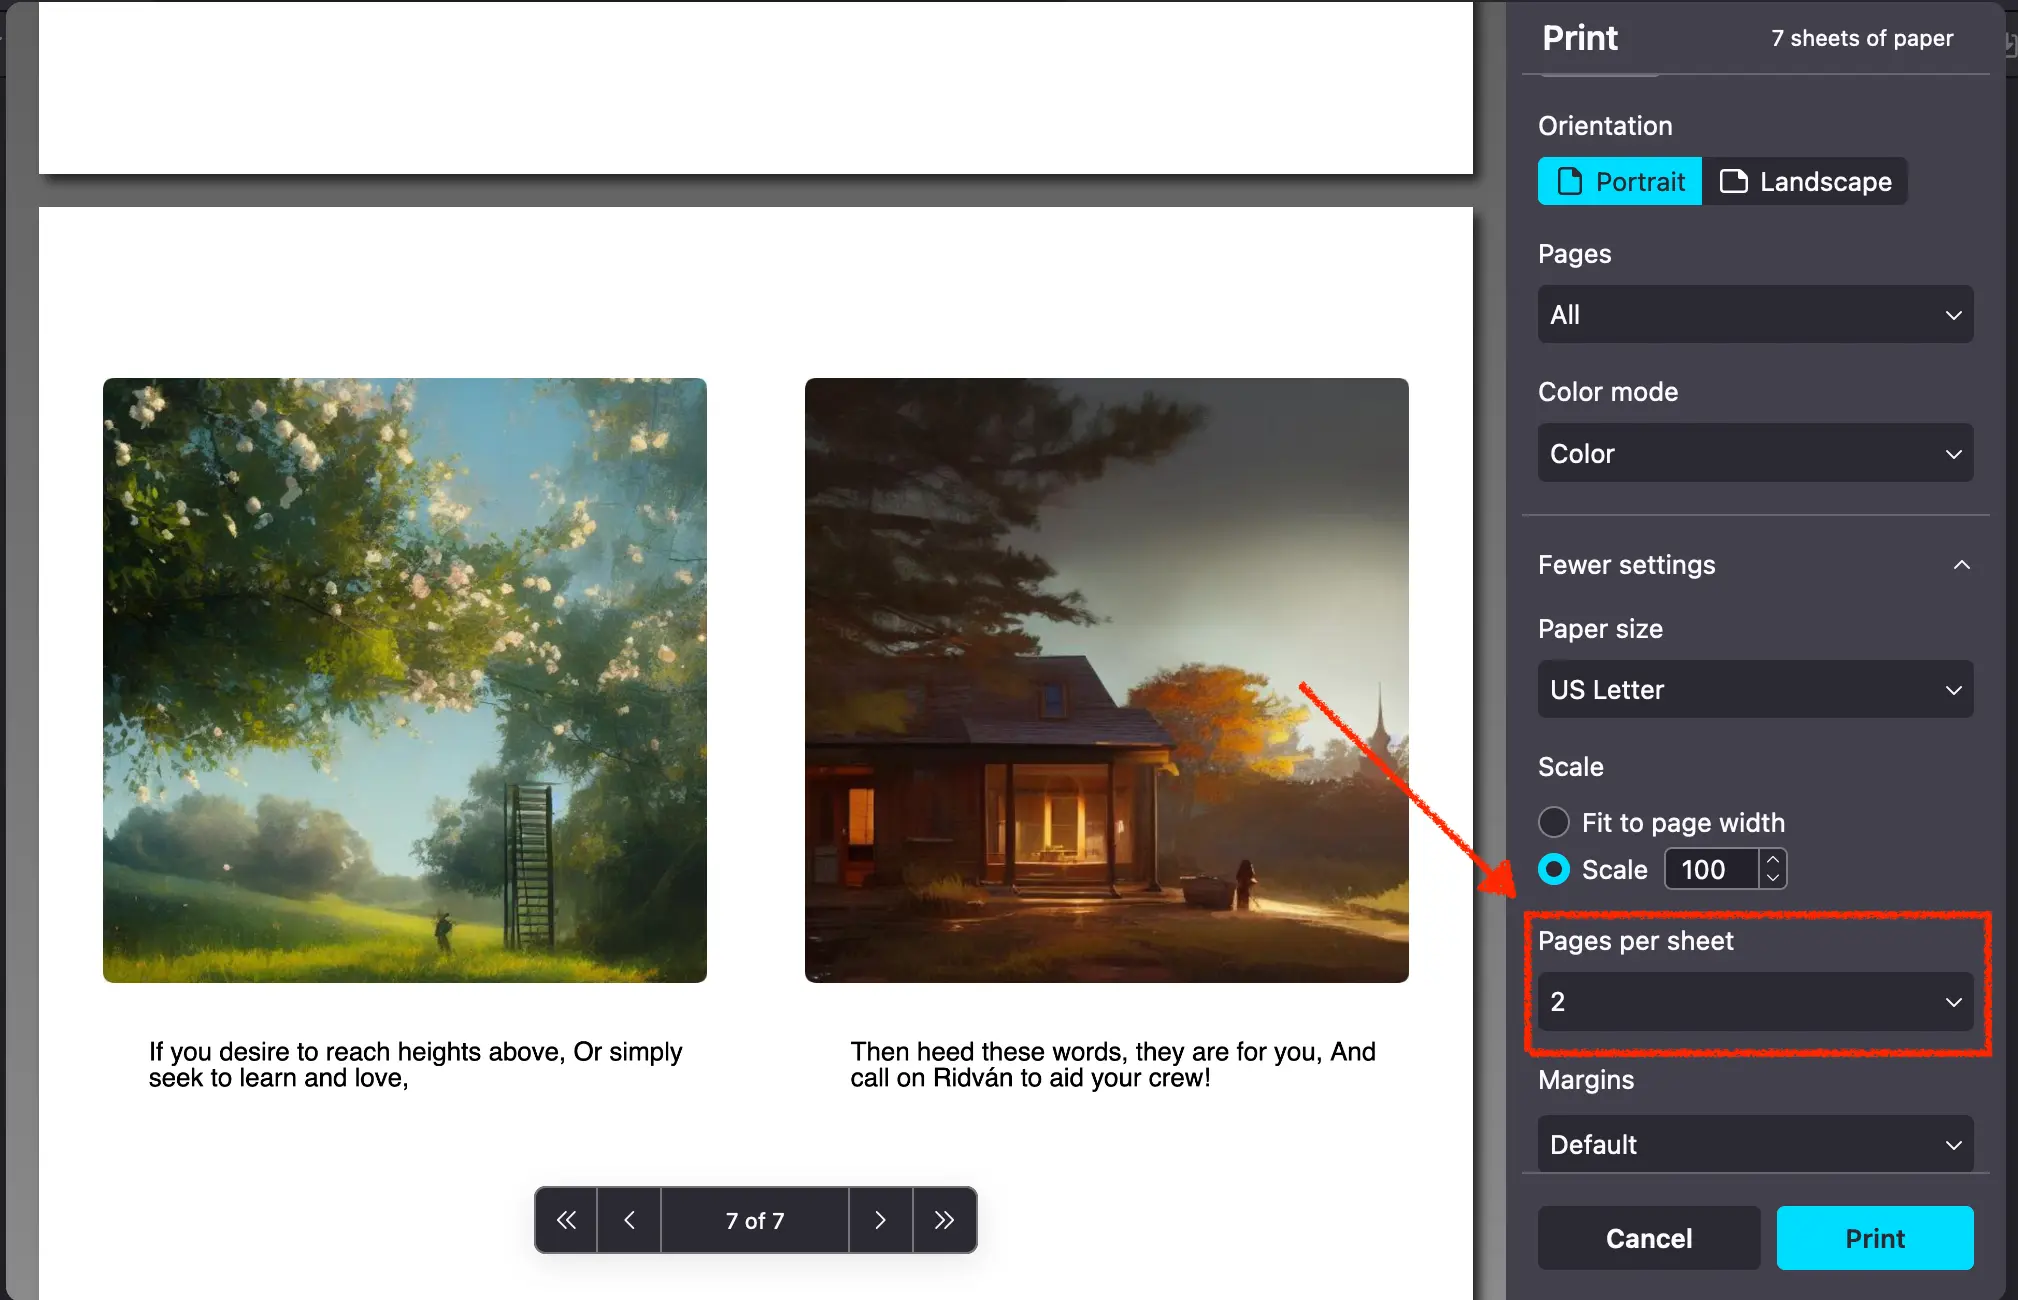
- Print the .pdf
- Print single sided
- Select two pages per sheet
- Fold the pages in half so that the blank side is folded inward.
- Smooth spine will then add the pages in between the cover. Rough spine will just place the pages in order, with the covers in the same orientation.
- Adjust and line up the pages and three staples down the spine.
- With the rough spine layout you can add a peice of tape down the back.
All done, enjoy!
Textbook was made by Quddús George at Ridvan.org. Ridván offers software consulting and builds projects of all different types from websites and mobile apps to desktop applications and server software. If you are looking for a solution or support reach out at https://ridvan.org.